
Blogging is a content marketing technique that shows no signs of slowing down, even as video marketing is on the rise. It’s the cheapest and one of the most effective marketing strategies you can implement in your business, and it’s even capable of being a form of business. A blog can help you build an audience of “raving fans,” earn passive income through affiliate marketing, earn even more revenue from your own products and even become an influencer in a particular niche. All you want to know, however, is how to get started.
Starting a blog can be an intimidating undertaking, but it’s actually a lot easier than you think, especially when you use the right tools and techniques. In this post, we’re going to tell you the steps you need to take before starting a blog, how to start a blog with SiteGround and WordPress as well as what your next steps should be. Let’s get into it, starting with finding your niche.
How to Find Your Blog Niche

We have an entire post on how to find your blog niche, if you’re interested. It guides you through the process of using your own interests and skills to determine what your niche should be. We’ll do our best to sum it up in this section.
A niche is a specialized sub-topic of an even broader subject. “Sports” is a broad topic while “basketball,” “American football” and “baseball” are its niches. You can even say “basketball,” “American football” and “baseball” are broad topics and name “NBA,” “NFL” and “MLB” as their niches. You can even break these niches down into individual teams, but you get the point. So, why are niches important?
As we said in our tutorial on this topic, getting noticed in a niche that covers a broad topic is difficult, especially when you’re new. A niche helps you target a much smaller audience where the field isn’t as competitive. You may even find a few opportunities to target untapped markets.
As for finding your blog niche, consider topics you know something about (you don’t need to be an expert) as well as topics you’re interested in. Think in broad terms to start out with, and jot down multiple niches you’d be interested in starting blogs about for each one. It’s only a matter of doing a bit of research to discover which niche(s) has the best search volume-to-competition ratio after that.
Naming Your Blog and Registering a Domain
Coming up with a name for your blog can be a surprisingly overwhelming part of starting one, but it’s important nonetheless. This is because you’re not just naming your blog, you’re naming your brand. This is what people will refer to you as when they talk about your products and content. It’s also what people will remember when they see your content in passing. We can’t tell you exactly what to name your blog, but we can give you a few guidelines.
- The shorter, the better – Try to keep the name of your blog as short as possible. One to two words is best, but three to five is fine as well. Remember, people will use this name for word-of-mouth testimonials as well as to type your domain in their address bars.
- Descriptive and witty – It’s best to name your brand after yourself or something that involves your niche. A few examples are food blogs “Pinch of Yum,” “Minimalist Baker” and “Paleo Hacks.” These names are witty and interesting, but they’re also highly descriptive, giving you a bit of an idea of what these blogs are about.
- Easy to remember and spell – Once again, people will be using this name when they refer to your brand or want to visit your website directly using their address bars. Because of that, make sure your name is easy to remember and easy to spell. Using a “z” instead of an “s” may seem clever, but it will only confuse readers when they try to visit your site.
Registering Your Domain
SiteGround does allow you to register domains with them, but I highly recommend choosing a dedicated domain registrar instead. These services specialize in registering domains. SiteGround charges $15.95/year for domains and another $12 for your first year of privacy protection with $24/year being the regular price. That means paying $39.95/year for a single .com domain.
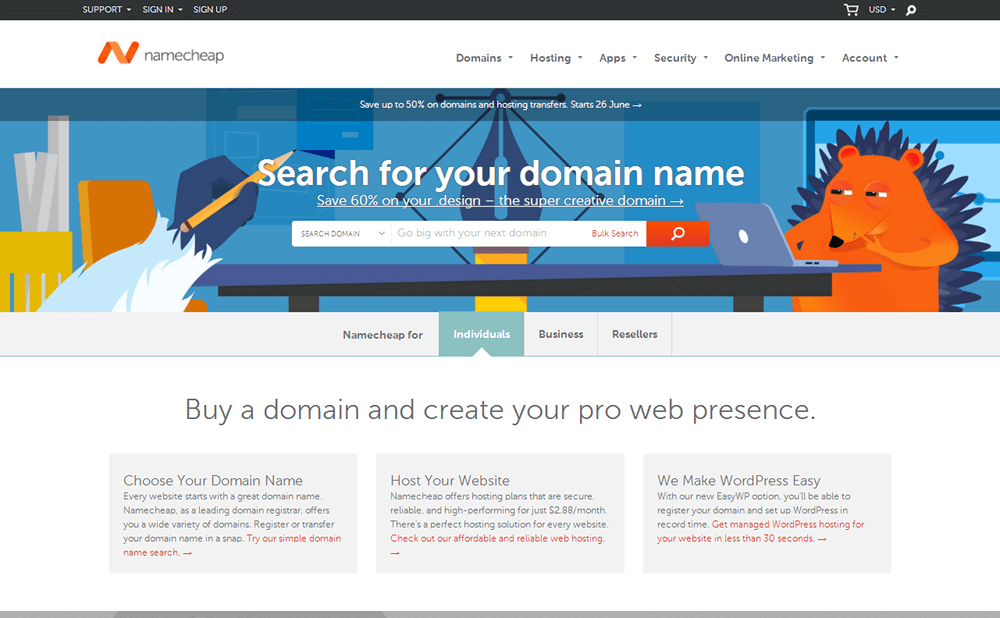
Namecheap and other registrars, on the other hand, only charge around $13/year for domains and privacy protection combined. Some even charge less. I suggest shopping around and registering your domain elsewhere before jumping into the next section. It’s best to choose a .com domain since that’s what most Internet users are used to. I don’t recommend using a .net domain or something similar if the .com is already taken. This simply means someone else is already using that brand name, and you want yours to be unique.
Once you’ve registered a domain or plan on registering yours with SiteGround, continue on to the next section.
How to Start a Blog with SiteGround
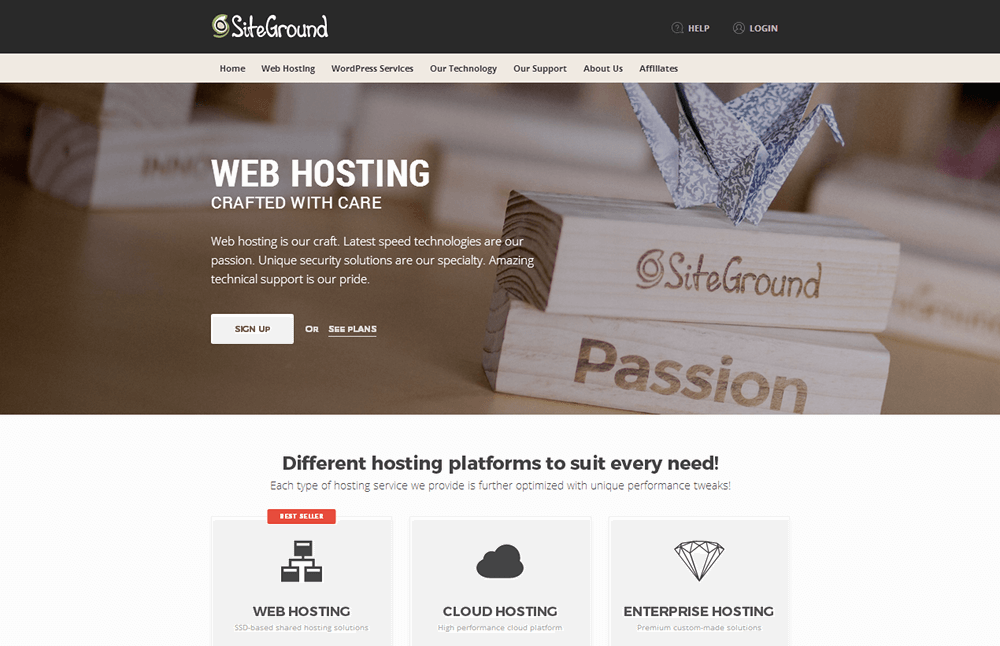
SiteGround is a multipurpose host that offers hosting solutions for a variety of different platforms, including WordPress. They’ve become a top host in the WordPress industry and have even earned a spot on WordPress.org’s official hosting page. They also happen to be our pick for shared hosting here at ThemeTrust and our most recommended host for new bloggers due to the low shared hosting prices and WordPress features they offer. Let’s go over those prices, but feel free to read through our SiteGround review to gain a better understanding of the services this host offers.
Step 1: Choosing a Plan
Click here to head to SiteGround’s WordPress Hosting page, and scroll down slightly until you see the three hosting plans they offer for WordPress.
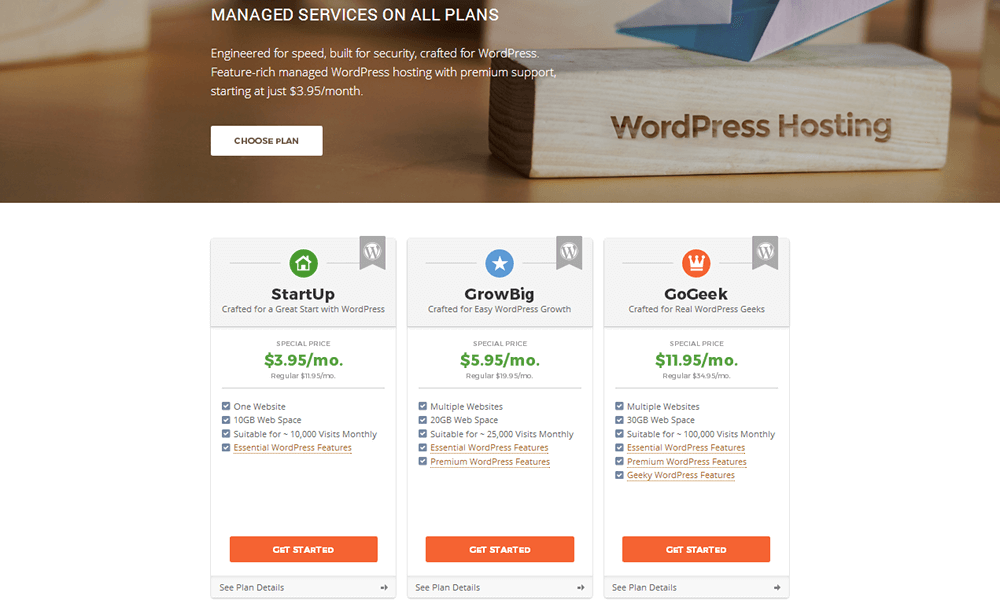
SiteGround lists the major differences between these plans for you, which should help you decide which one is best for you, but let’s dig deeper. For reference, however, new blogs should only concern themselves with the first two plans—StartUp and GrowBig. The third plan, GoGeek, is a bit overkill for new websites. Plus, it’s much more expensive.
Let’s start with price. SiteGround’s pricing is a bit misleading. They list their prices in monthly format but do not offer monthly plans. This means the StartUp plan actually costs $47.40 for your first year, not $3.95/month while the GrowBig plan costs $71.40 for your first year, not $5.95/month. Keep that in mind while you make a decision as your choice will likely be heavily dependent on your budget.
Take the plans you have for your blog into consideration as well. If you plan on grinding away and gaining success as quickly as possible, you’re better off going with the GrowBig plan, which allows for up to 25,000 visits/month. Another key feature this plan has that you won’t find in the other plan is priority support. If you don’t plan on growing quickly and have no immediate need for priority support, go ahead and choose the StartUp plan.
Click the Get Started button associated with the plan you wish to purchase once you’ve made your decision.
Step 2: Registering a Domain
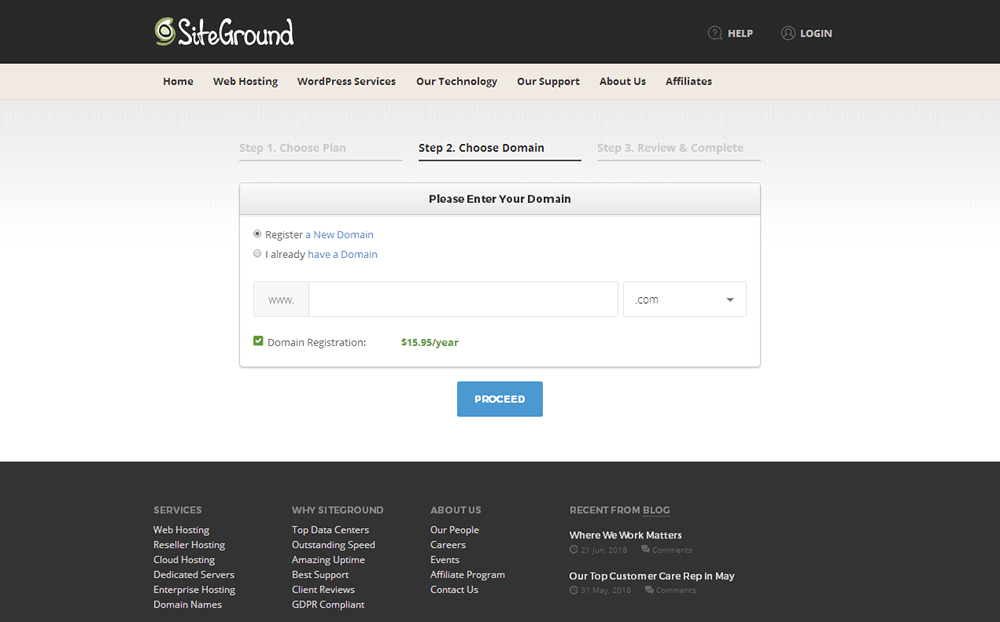
Next, register your domain with SiteGround, or let them know which domain you’d like to use. Once again, I recommend registering your domain with a domain registrar to separate your domain from your host and receive cheaper pricing. Domains at SiteGround cost $15.95/year, as you can see, and that’s without privacy protection.
Select Register a New Domain or I Already Have a Domain, enter your domain in the box, and click Proceed.
Step 3: Adding Your Billing Information
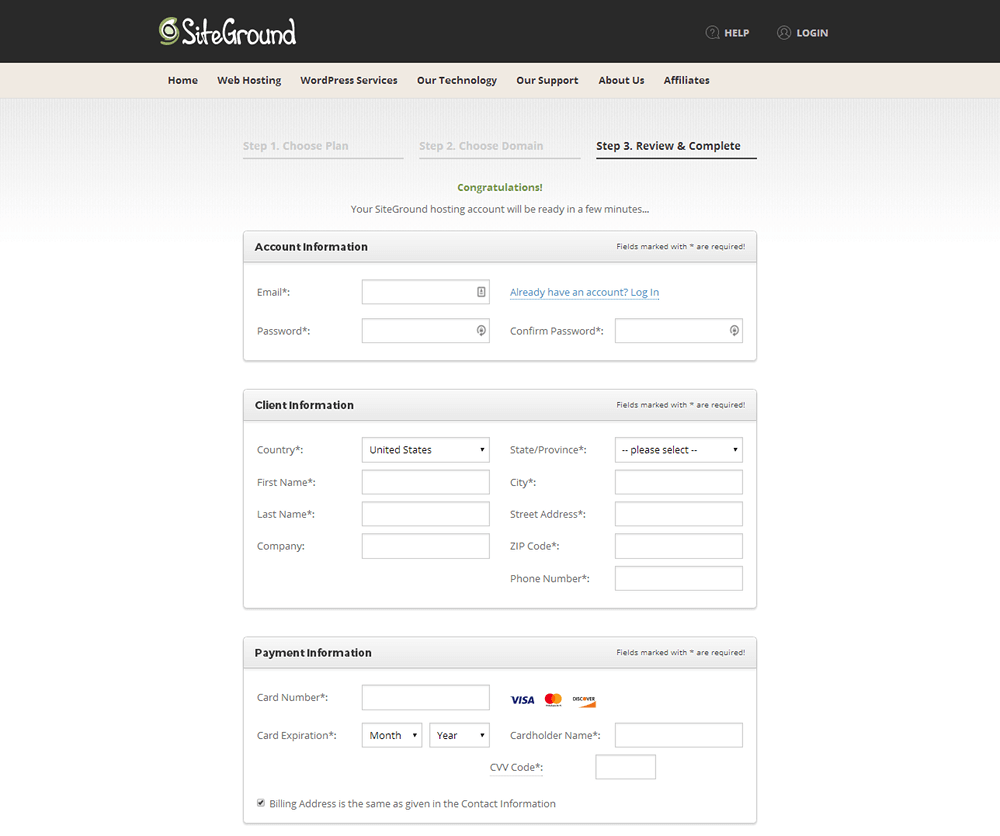
Enter your desired login information in the Account Information section as well as your billing name and address in the Client Information section. You can only pay by card on this page, so enter your credit or debit card information if you’d like to use it to pay for your hosting order. You’ll need to contact the host’s sales department to use PayPal.
Step 4: Reviewing Your Order
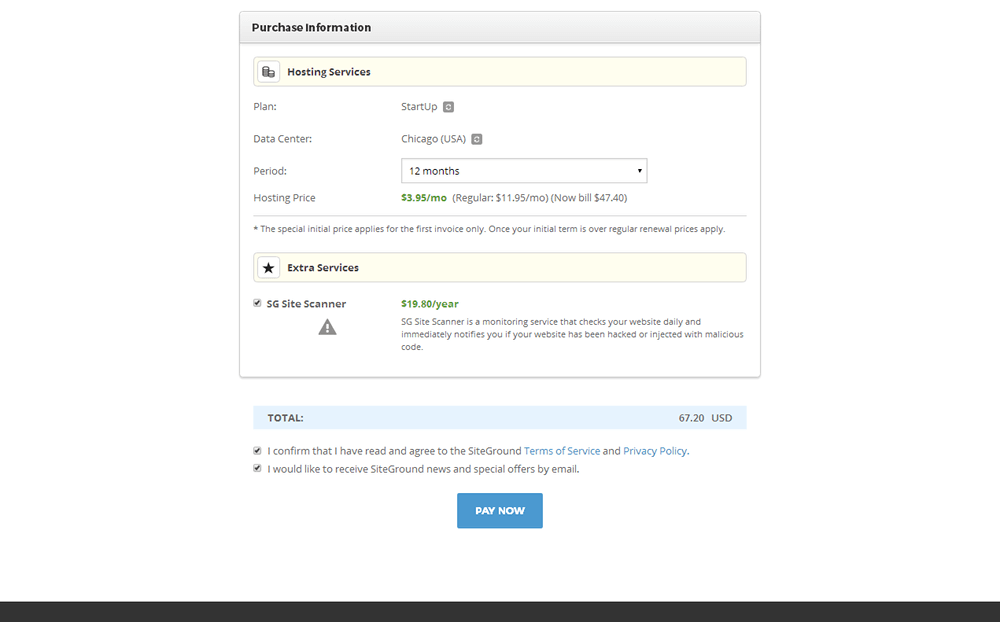
Here is where you can change the plan you’re purchasing, if you wish, choose how many years of hosting you’d like to pay for, and purchase additional services. I recommend choosing the 12-month period so you can ensure your blog and SiteGround themselves are a match without making too big of a commitment. Lastly, choose a data center that’s closer to where you plan on targeting users Chicago, London, Amsterdam and Singapore are available.
As for the additional services, the SG Site Scanner, SiteGround’s own security scanner, is selected by default. It’s a fine product, but it costs $19.80/year. If you don’t have the budget to include this in your hosting plan, unselect this option. You can install a third-party solution on your site free of charge once it’s up and running. In fact, we have an entire post you can check out to find out how to boost your site’s security in five steps or less.
Once you agree to SiteGround’s terms and conditions and decide whether or not you’d like to receive marketing emails from them, click Pay Now to complete your order.
Step 5: Installing WordPress
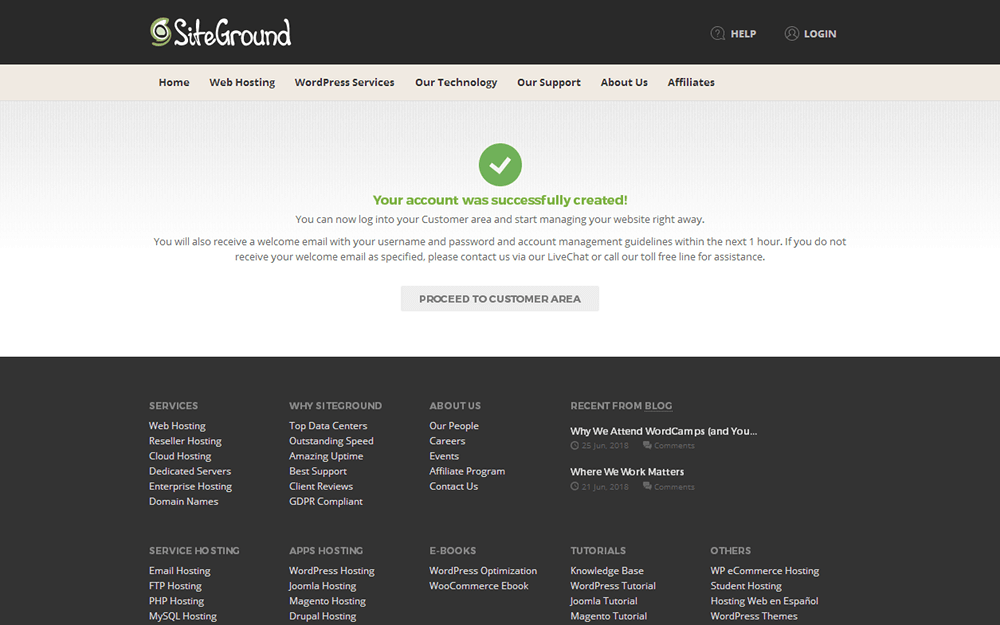
Once you’ve successfully completed your order, click the Proceed to Customer Area button. You’ll be redirected to SiteGround’s setup wizard, which will help you install WordPress on your new site. Select Start a New Website under the Set Up Your Website section, choose WordPress and enter your desired login details for WordPress. Here are a few tips for this section:
- Don’t use “admin” as your username.
- Don’t use your full name as your username, either.
- Try mixing things up instead. For example, if your name is John Smith and you were born in 1971, use something along the lines of “jsmi71” for your username.
- Consider using a password manager, such as LastPass, to generate and store a unique password for your site.
Click Confirm when you’re done. SiteGround encourages you to purchase SG Site Scanner before completing the setup process. Once again, this isn’t necessary as there are many free solutions you can use in the meantime, such as Wordfence. Leave it unselected if you don’t wish to purchase it, and click Confirm instead. Click Complete Setup after that.
Step 6: Connecting Your Domain to SiteGround
Skip this section if you registered your domain with SiteGround.
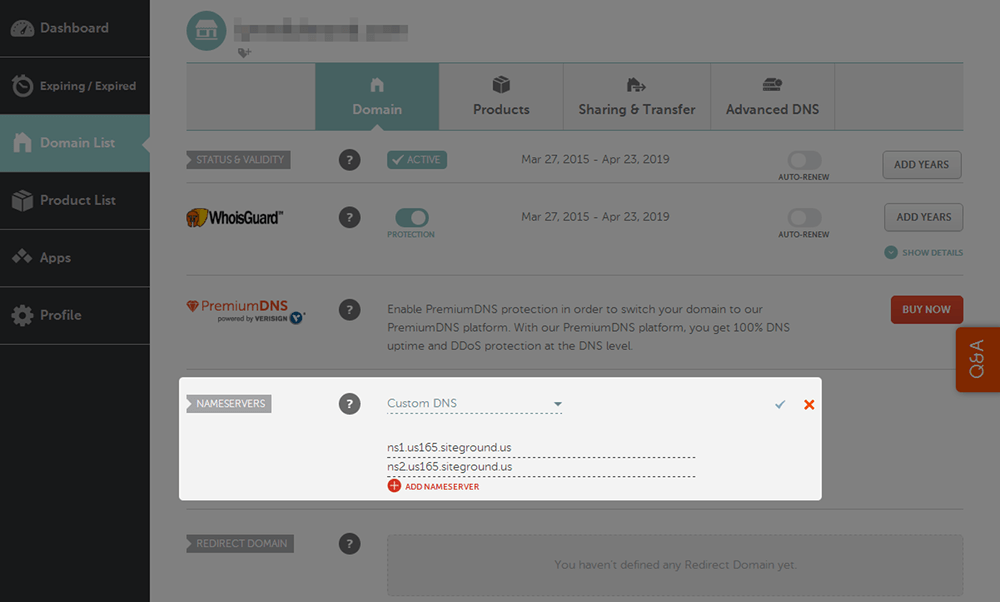
Once you’re in the main Customer Area of SiteGround, head to the My Accounts tab, and open the Information & Settings section. You’ll find your nameservers here, labelled “Account DNS.” You’ll need these to point your domain to your SiteGround server.
Every domain registrar handles this differently, so these instructions may not be as clear as they could be. In Namecheap, all you need to is click the Manage button associated with your domain, select Custom DNS under Nameservers, copy and paste the nameservers here, and click the little blue checkmark.
Once you do that, enter your domain in your address bar to visit your site to see if the connection is complete. Namecheap states it may take 48 hours, but it’s usually only a couple of minutes. You’ll see a page that says “My Blog” and “My WordPress Blog” once the connection is complete. To access the backend of your site, head to yourdomain.com/wp-admin to access the login page for your WordPress site.
Final Thoughts
Starting a blog may have seemed like an impossible task to accomplish, but fortunately, SiteGround simplifies the process quite a bit. Your next steps should be to configure your site’s settings, install a WordPress theme, install a few essential plugins and add content to your site in the form of pages (Home, About, Contact and Blog). You can start creating content after that.
We have an entire catalog filled with beautiful, blogging-capable themes.
As for the rest of the process, here are a few pieces of content that will help you along the way:
- 29 Must-Have WordPress Plugins
- WordPress SEO: How to Set Up and Use Yoast SEO
- Why Your Blog Needs a Resources Page and How to Build One
- How to Create a Content Marketing Strategy
- How to Start an Email List for Free
- How to Create an Email Marketing Strategy
- 7 Steps to Becoming a Successful Blogger
- 8 Ways to Make Money Blogging