")
Growing your email list is essential for any successful business or blog. Your email list is a group of your biggest fans that you can email directly any time you want, whenever you have something to say. Instead of posting a message on your website or social media and hoping your audience sees it, you can get your message straight into their inboxes. Emails are also more personalized; sending a loyal customer an email to announce a sale will make them more likely to check it out and buy. In fact, consumers who purchase products through email spend 138% more than those that don’t receive email offers.
So, you can see why building an email list is important. But if you’re just starting out with email marketing, how do you convince people to sign up for your email list? The easiest way to get more email subscribers is by offering a content upgrade. In this post, we’ll let you know exactly what a content upgrade is, how it can skyrocket your email subscribers, and show you how to easily create one. Let’s get started.
What is a Content Upgrade?
First, let’s take a moment to talk about what a content upgrade actually is. A content upgrade is simply a free gift you offer to your website visitors in exchange for their email address. It’s one of the easiest and most effective strategies for growing your email list and generating more leads.
Unlike traditional “site-wide” lead magnets though, a content upgrade is a lead magnet that’s created specifically for a particular blog post or page. Not only can they help grow your email list, but you can also discover exactly what your audience is most interested in and use that information to convert email subscribers into customers.
Content upgrades aren’t difficult to create either. Some simple and great content upgrade ideas include:
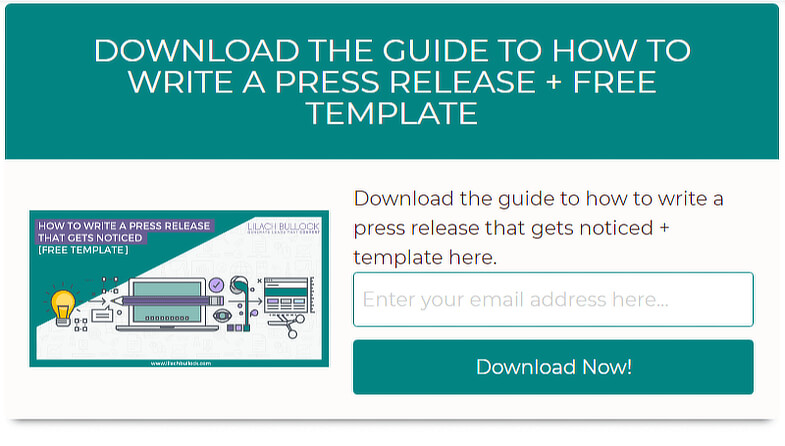
- PDF Blog Post
- Checklist
- List of Resources
- PDF Guide or mini eBook
- Worksheets
- Templates
Are you ready to create your first content upgrade? Let’s get started.
Step 1: Repurpose Your Content
For your first content upgrade, we recommend sticking with something easy to execute. The easiest content upgrades to create are PDF blog posts, how-to guides, and checklists; choose one of these options for your first attempt. Next, instead of starting from scratch and wasting time crafting entirely new content for your content upgrade, go with something you already know is going to be popular: your most popular existing content. Repurposing your content for your content upgrade will save you time and increase the chances of your visitors opting-in because you’ll know it’s something they’re already interested in.
Take a look at your Google Analytics to determine what your most popular content is. For instance, say your most popular blog post is “A Complete How-To Guide to Promoting Your Content on Twitter”, create a content upgrade based on that post. You could transform it into a downloadable PDF guide or create a checklist for promoting your content on Twitter. Just make sure you add something extra to the content upgrade or transform it enough so that it’s something new. Users won’t be impressed if it’s the exact same thing as the content they’ve already read.
Step 2: Design Your Content Upgrade
Next, you have to design your content upgrade. A plain, Word document that you’ve saved as a PDF won’t impress users, you need to create a content upgrade that looks awesome too. You don’t have to be a graphic designer or hire anyone to design your content upgrade, you can easily do it yourself even if you’re a complete beginner. With a free tool like Canva, in minutes you can create a great-looking content upgrade that your audience will love.
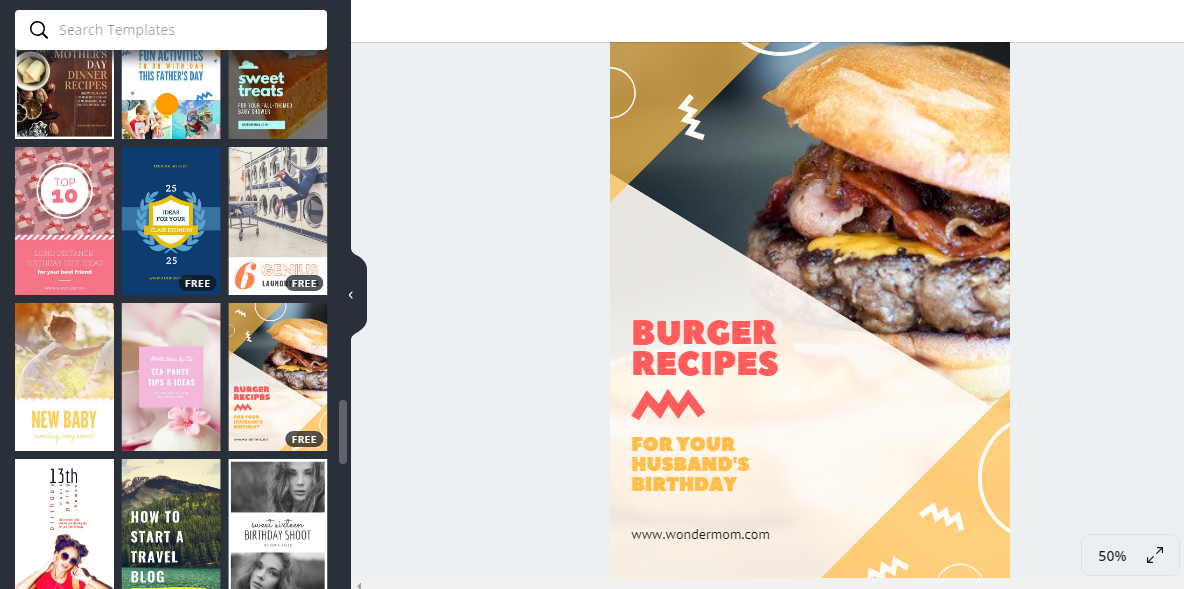
In Canva, choose a design that matches your content upgrade. For example, the Blog Graphic design works well for creating how-to guides.

Next, choose a free template that will work for the content upgrade of your choosing. For example, this burger template works great because it gives you enough room to write.
Click on each element like the text, the image, and other elements, to re-design the template to match your content and your brand.
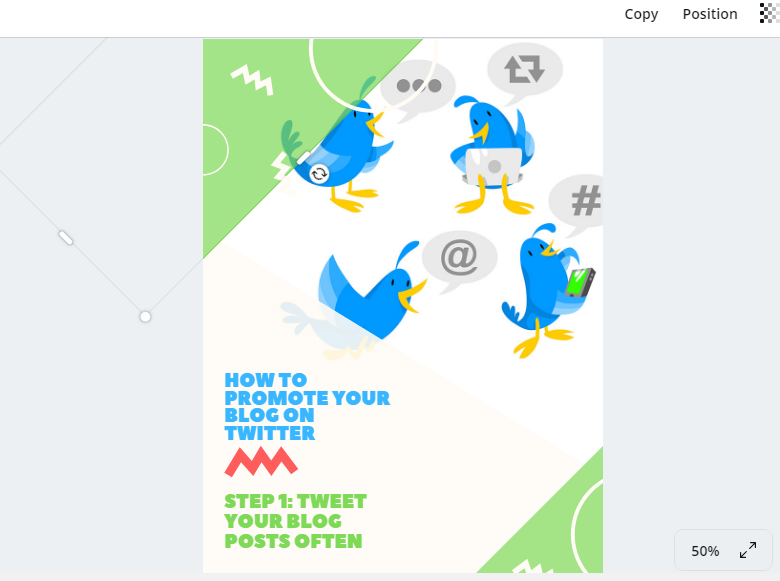
Once you’ve got your template looking how you want it to, you can click the “Copy Page” button to create the next page of your guide. So, instead of redesigning your template with each page, you’ll save yourself time by only having to change the text and the image. When your content upgrade is complete, it’s time to start offering it to your website visitors.
Step 3: Offer Your Upgrade
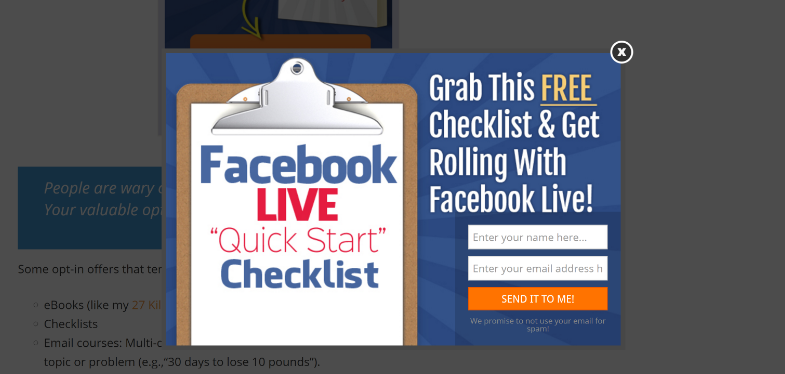
Now that you’ve got your content upgrade created, it’s time to offer it up to your website visitors and get them to opt-in. If you think that just adding a text link to download your content upgrade at the end of your blog post is going to work, you’d be wrong. You need to stop users in their tracks and grab their attention in order to get them to opt-in to your email list and a great way to do that is to use popups.
Popups work well because they catch the attention of the reader and block out the other content to reduce distraction, making them more likely to give up their email address. With a tool like OptinMonster, you can easily create a stunning popup using their drag and drop builder to convince your visitors to download your content upgrade and become a subscriber.
Another great feature of OptinMonster is their Exit-Intent technology; it can track when a user is about to leave your page and trigger your content upgrade popup at exactly the right time. So, instead of losing first-time visitors forever, you can capture their email address and turn them into subscribers, and eventually into paying customers. You can also choose campaigns like inline (to offer your content upgrade in the middle of blog posts), sidebar, slide-in, floating bars, and more.
Creating a Content Upgrade
Growing your email list is essential to forming long-lasting relationships with your website visitors and audience. Once they become a subscriber, they become a superfan; they’ll read your messages in their inbox, share your content with their friends and family, and they’ll be more likely to trust you and become a loyal customer. With these tips for creating your first content upgrade, you’ll be well on your way to growing a powerful email list, presenting yourself as a thought leader and expert in your industry, and delighting your audience with freebies. Get started today!

Syed Balkhi is an award-winning entrepreneur and online marketing expert. He is the co-founder of OptinMonster, WPBeginner, MonsterInsights, WPForms, and SeedProd.