
Every blog should have the same set of essential pages no matter which niche they’re in. These are typically the Home, Blog, About and Contact pages. However, there a couple of additional pages most blogs neglect to add to their websites despite how useful they can be in providing value to readers and increasing conversions. The first is the Start Here page, but that’s not what this post is about. The page we’ll be covering in this post is the Resources page.
The Resources page has the potential to become one of your website’s most visited and highest-converting pages, but what is it apart from a list of tools you use in your niche? That’s what we’re going to cover in this post. We’ll be going over what a Resources page is, why it’s important, a few examples you can use as references as well as how to build your own. Let’s get the “what” section of this post over and done with.
What is a Resources Page?
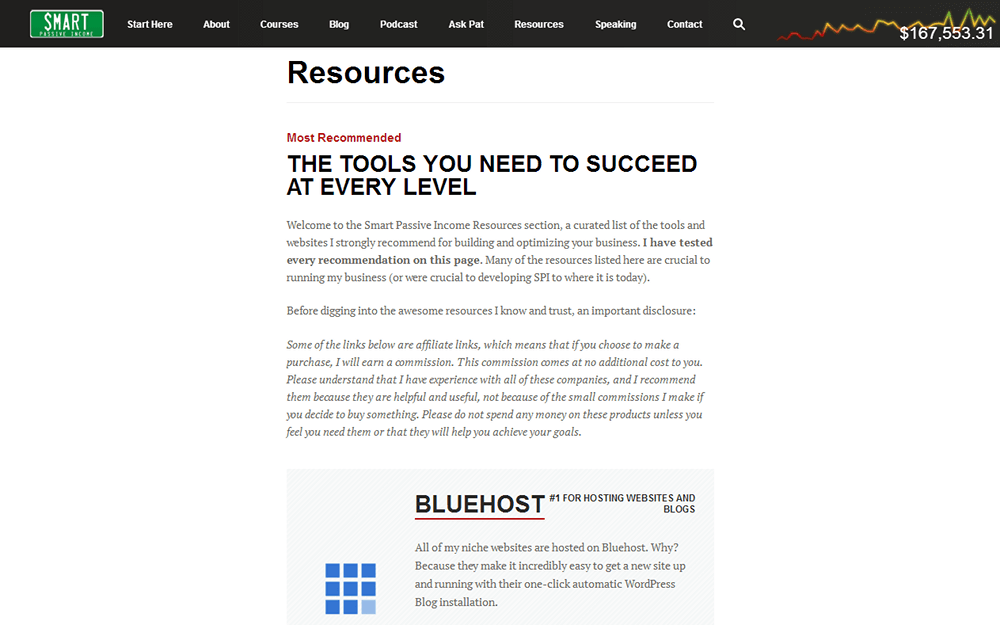
In its most basic definition, a Resources page is a reference page your readers can use to find out which tools you use in your niche, which ones you recommend most, and other educational or useful products you recommend. It gives readers’ quick access to products you recommend frequently on your blog. Typically, your page should begin by listing your most recommended products as Pat Flynn has done on the Resources page of his blog Smart Passive Income.
The rest of the resources you list should be organized in a way that makes sense for your audience and niche. These will be typically be the tools and products you personally use in your niche, as stated before. However, you can also list anything you feel would help your readers solve any problems they’re having. This can include links to blog posts, free ebooks and other free products you’ve created, links to paid ebooks and courses, and more.
Why Does Your Blog Need a Resources Page?
We hinted at this in the intro, but the Resources page is important for two reasons. The first is its ability to provide value to your readers. It has a high likelihood of becoming one of your most visited pages as a result. The reason behind this is simple. When readers visit your website, they’re looking for solutions. This is true whether they arrived through Google, a post you left on social media or a referral from another blogger.
While your blog may be filled with dozens upon dozens of valuable content designed to provide those solutions, it’s not easy to navigate. Sure, you can create a killer Start Here page, implement advanced search technology, and create a well-organized system for categories and tags, but these solutions aren’t quite as seamless as what your Resources page can do.
Let’s use a skateboarding blog as an example. A Resources page can provide quick answers to questions like…
- “What deck brand do you use?”
- “Where do you buy your gear?”
- “Which wheel size do you use for street skating?”
- “What setup do you recommend for beginners?”
The reader doesn’t need to read through all of the deck reviews this blog has published to find out what they should buy nor do they need to pester the blogger about what they personally use. So long as trust has been established between blogger and reader, the reader doesn’t need to look far for guidance on what to buy.
The Potential for Affiliate Marketing and Email Conversions
This is the second part of what makes the Resources page so important. It has a high likelihood of increasing conversions for your affiliate links and email list. This is why it’s important for you to choose which products you endorse carefully. It’ll allow you to provide fewer options for your readers if you choose to add a Most Recommended section to your Resources page. Consumers want simplicity, and nothing is more simple than telling them the one and only deck brand you endorse the most. Add an affiliate to your recommendation, and you have the potential to increase the revenue you see from this link exponentially.
What’s more, a Resources page allows you to build a page full of affiliate links without fear of being labeled a spammer. Be sure to read our guide on how to get started with affiliate marketing for more information on this revenue strategy.
As for your email list, the Resources page is a great place to use the two-step opt-in form available in some lead generation applications, such as OptinMonster and Thrive Leads. These tools allow you to hide a pop-up form behind link text, a button or an image. They can help you advertise free ebooks, courses and other lead magnets you’ve created without needing to fill the page with inline forms.
With that said, let’s switch gears and move on to the meat of this post.
How to Build a Resources Page – The List
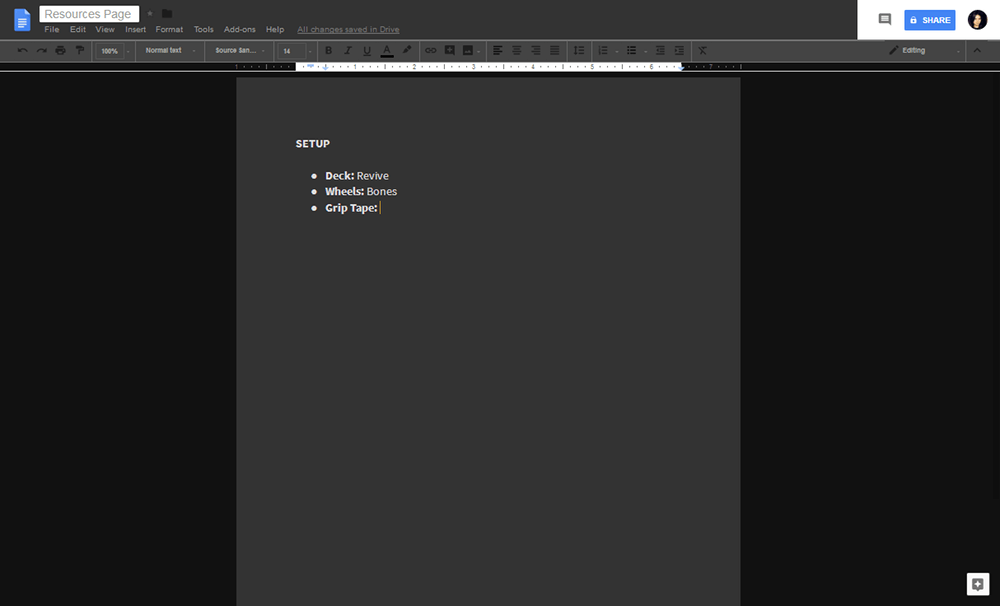
There’s no limit to the amount of tools, products and services you can mention on your Resources page. Because of this, I recommend using a Google doc or equivalent document, a spreadsheet, or a mind map to keep track of your ideas as we go through the various types of resources you may want to add to your page.
Also, it’s important not to focus purely on making money when you create your list. Don’t stuff the page with every single affiliate link you’ve ever used on your site, and don’t keep something off the list simply because it won’t lead to conversions. Instead, focus on providing value, and consider what would be most helpful to your reader.
We’re going to go through four different methods you can use to come up with your own list of resources. We’ll then discuss the different layouts and design options you can use.
Consider Your Toolbox
Every niche is different, but every niche has a few different “tools” that help you do whatever it is you do in your niche. Using skateboarding as an example once again, your “tools” would be the deck brand you use, the grip tape brand you use, your favorite wheel brand and size, and more. A beauty blogger’s toolbox is filled with all of the beauty products and products they use in their routine. A photographer’s toolbox would include their primary camera, go-to camera lens, camera bag and more. I could go on, but you get the point.
Consider everything you do in your niche and which tools help you accomplish your tasks along the way. These tools make up your “toolbox.” Go ahead and add them to your list. Be sure to include affiliate links where relevant.
Consider Your Affiliate and Sponsor Products
You probably have a long list of affiliate links for products you endorse, and you may even have a few products you recommend from sponsors of your blog. Take these into account as you write your list, and consider which ones provide the most value to yourself and which ones would provide the most value to your readers.
Try to limit the number of products you recommend for a particular solution to one even if you have multiple affiliate links you can use for that solution. This, as stated earlier, will give your reader less options to choose from and will make them more likely to click on the link.
The only exception would be if each product provided a different type of solution. For example, we here at ThemeTrust recommend two hosts on our Hosting page. They are SiteGround and Kinsta. They’re both WordPress hosts, but each is suited for a different type of WordPress site. SiteGround offers multiple types of hosting, but they’re mainly used by small to medium-sized blogs. Kinsta offers cloud hosting and is best suited for ecommerce and high-traffic websites.
Consider Your Content
Like I said, blog posts, free ebooks and any other type of valuable content you’ve created is fair game. Think about your audience’s biggest pain points as well as what you feel someone new to your niche needs to know. Go through all of the posts, ebooks and other content you’ve created, and add links to them to your “master list.”
Consider Your Audience
Creating content for every single problem or situation in your niche is difficult, and maybe even impossible for some. Take this into consideration, and determine if there are any third-party pieces of content you can recommend to your audience. What I mean is blog posts, books and even courses from other bloggers or entrepreneurs in your space.
If there’s a particular blogger, book or course that’s helped you out, be sure to give them a shoutout by adding them to your list. If you’ve found them to be helpful, your audience most certainly will as well.
How to Build a Resources Page – The Design
You should have a decent-sized list by now. The next stage is deciding how you want to structure your list on your Resources page and coming up with a design for it as well as determining how you’d like to create that design. As such, we’re breaking this section into two parts—layout and design.
Choosing a Layout
Let’s take a look at two different real-world pages to give you examples of the many different layouts you can use for your own page. We’ve already mentioned the first one, Pat Flynn’s Resources page. Pat Flynn teaches newbie entrepreneurs how to start their own online businesses.
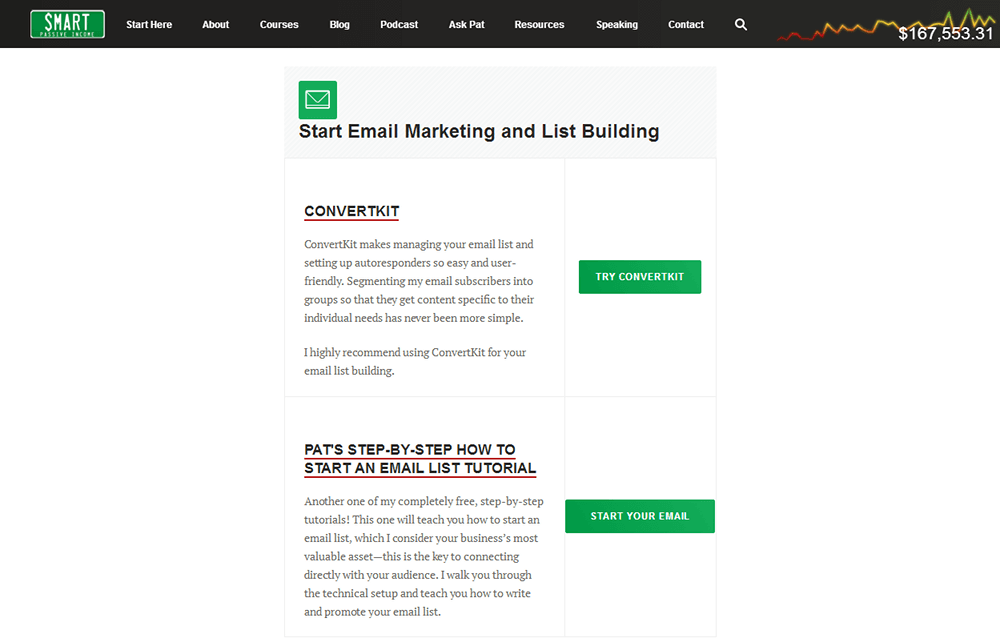
Pat’s page begins with a list of his most recommended products for newbie entrepreneurs, as mentioned before. He organizes the rest of his list based on the problem he’s trying to solve. Here are a few examples of the categories you’ll find on his Resources page:
- Build Your Blog/Website/Course
- Start Your Podcast
- Courses That Actually Work
- Books That Will Inspire You
- Use Images to Enhance Your Blog Posts
He provides a list of solutions for each of these problems in his list. Some solutions even appear twice.
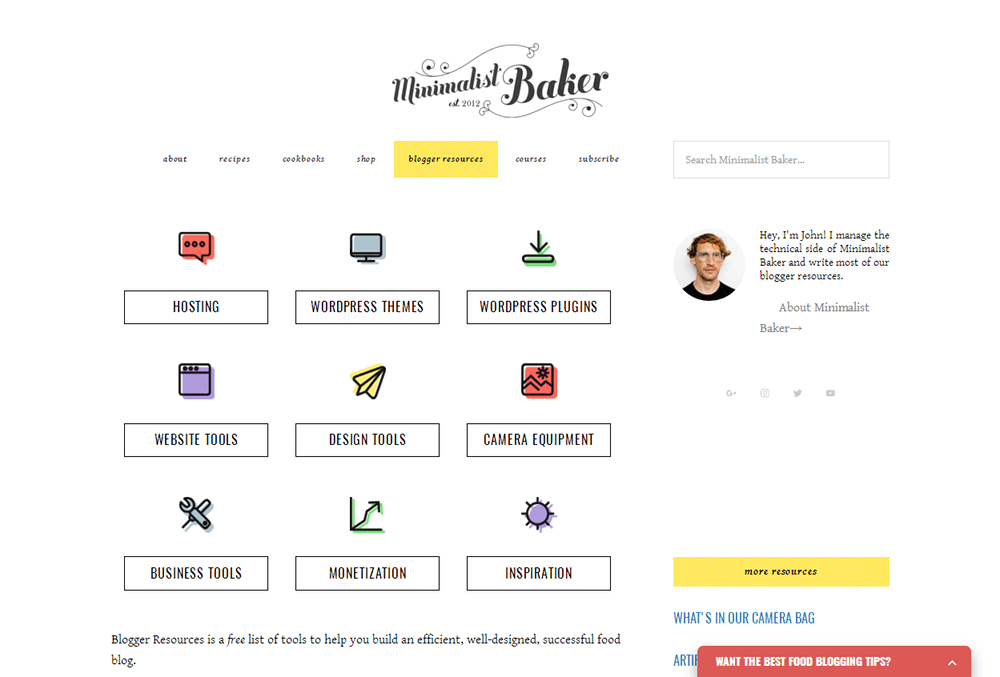
The next example is from Minimalist Baker’s Resources page. Dana and John are a husband-and-wife food blog specializing in offering “plant-based recipes requiring 10 ingredients or less, 1 bowl, and 30 minutes or less to prepare.” While this is true, the blog’s Resources page actually serves new bloggers interested in starting a food blog. Here’s how they’ve structured their list.
Instead of talking about their most recommended products and categorizing items as solutions to problems, they’ve categorized items by the types of products they are. That’s why you’ll find the following categories:
- Hosting
- WordPress Themes
- WordPress Plugins
- Website Tools
- Camera Equipment
Once again, consider your audience when you determine how to structure your own list. Think about what would help them find the solutions they’re looking quicker.
Choosing a Design
You can most certainly create your page using the WordPress editor with H2 tags, images and bulleted lists, but if you have the time, I highly recommend creating a more interesting and interactive design with a page builder plugin. Since this is likely one of few pages you’ll use the plugin on, stick to free tools, such as Elementor, SiteOrigin Page Builder and LiveComposer.
Final Thoughts
Before we close this post, I want to reiterate the importance of ensuring your Resources page provides value to your reader and doesn’t merely serve as a way for you to increase your blog’s revenue. There are a lot of shady marketing tactics you can implement in your business, but it’s best to give them reasons to trust you so you can create long-lasting relationships with them.
With that said, don’t worry about the size of your list. Only worry about whether or not you’ve provided every resource your reader could ever need if they want to succeed in your niche. Lastly, try not to let the design process get out of hand. Your resources should be the focus of your page. Don’t add a sidebar to the page. Try not to add inline forms or any type of pop-up form that isn’t triggered by a link, button or image, and keep the images and descriptions of each list item simple yet descriptive.