Bramble Theme Documentation
Menus
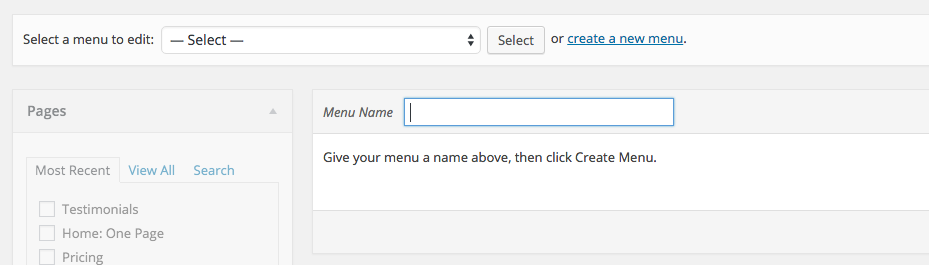
Creating a New Menu
In your WordPress dashboard, click on Appearance->Menus. At the top of the page, click the create a new menu link.
Adding Items to a Menu
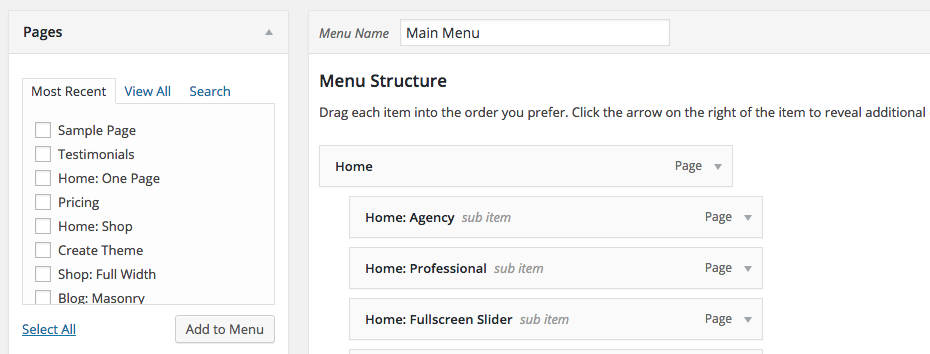
You can add different link types into your menu, these are split between panes left of the menu you’re currently editing.
- Locate the pane entitled Pages.
- Within this pane, select the View All link to bring up a list of all the currently published Pages on your site.
- Select the Pages that you want to add by clicking the checkbox next to each Page’s title.
- Click the Add to Menu button located at the bottom of this pane to add your selection(s) to the menu that you created in the previous step.
- Click the Save Menu button once you’ve added all the menu items you want.
Your custom menu has now been saved.
Note: The Screen Options tab in the upper right allows you to add additional item types to menus.
Create Multi-Level Menus
The WordPress menu editor allows you to create multi-level menus using a simple ‘drag and drop’ interface. Drag menu items up or down to change their order of appearance in the menu. Drag menu items left or right in order to create sub-levels within your menu.
Add Icons to your Menu Items
Expand the menu item that you want to add an icon to. Click the Icon button and use the arrows to navigate through the icons until you find the one you want. Or you can use the search field.

Adding Your Menu to Your Site
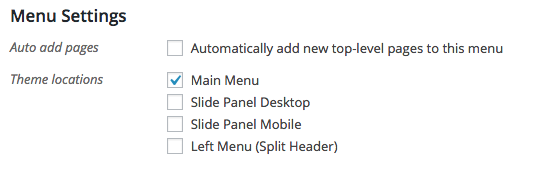
Create has four menu Theme Locations that you can assign a menu to.
- Scroll to the bottom of the menu editor window.
- In the section titled Theme locations, click the check box for the location where you want your menu to appear.
- Click Save menu once you’ve made your selection.