
Creating an online course is one of the most challenging ventures you’ll face with your blog. It’s a large project that takes a lot of planning and will add dozens of new tasks to your workload. With that said, it’s also one of the most rewarding ventures you’ll face. It offers a way for you to turn your most avid readers into customers and turn part of your audience into a community of students. It’ll also give you a chance to start generating revenue from your own products rather than someone else’s.
There are a lot of components that go into creating an online course, so much so that getting started can be a difficult feat on its own. In this post, we’re going to go over everything you need to get started in online course creation. We’ll go over how to find a course idea, how to choose a platform to host your course, how to plan your course content and the types of content you can add to it.
Let’s get started.
Finding Your Course Idea

It’s self-explanatory, but creating an online course starts with finding an idea for one. This starts with finding a problem to solve, but not just any problem. If you want your course to be successful and profitable, you need to find one of your audience’s biggest pain points and design a course that helps them solve it.
There are a couple of different methods you can use to determine what your audience’s biggest pain points are. Start by asking them directly by having one-on-one conversations with them or talking with them through your email list. You can also pay more attention to the questions that come through your inbox. Lastly, you can run a survey on your site.
If you need more help in this department, be sure to read our guide on finding your blog’s first product idea.
Choosing a Course Platform
Once you have a topic to build your course around, you need a way to build and host it. You can certainly start from scratch and build your own course application from the ground up, but this is costly and highly unnecessary. We recommend using a course platform instead. A course platform is an application that allows you to build aesthetically-pleasing online courses your students will have no problem using. However, before you decide on a specific platform to use, you need to decide which type of course you’d like to build.
Hosted Courses vs Self-Hosted Courses
The way you host your course can be broken down into two main categories:
- Hosted Courses
- Self-Hosted Courses
Hosted courses are offered by platforms that act as all-in-one solutions. Not only does this type of platform offer a built-in course application, they also take care of hosting, course design, student accounts and payments. The only drawback is the limited amount of control you have over how much you’re able to earn since these types of hosted platforms typically have strict policies when it comes to pricing. The plus side here is the popularity of these platforms. Because they act as marketplaces and have built-in audiences, your course stands a far greater chance at selling than it would had you gone the self-hosted route.
Let’s talk about that route. Self-hosted courses actually come in two forms. There’s a hybrid form that gives you access to a course application, takes care of course design and hosts the course for you. However, they don’t act as a marketplace, so you’re free to launch your course at whatever price you feel is appropriate. You’ll be expected to take care of marketing on your own, however.
The second type of self-hosting is as pure as self-hosting can get without actually requiring you to develop a course application yourself. This type of self-hosted course gives you access to a course application. You’re required to handle everything else on your own. This includes hosting, design and marketing. The plus side is if you already host your website with WordPress, you can add a course platform to it to give your readers a unified experience when you encourage them to become students.
Online Course Platforms
Let’s go over a few platforms that match one of these course types. These are the ones we’ll be covering:
- Teachable
- Thinkific
- LearnPress
- LearnDash
- Udemy
- Skillshare
Teachable

Teachable is a self-hosted course solution that offers a course application, hosting, course design and numerous integrations. You can a host course for free, but Teachable will take a small cut out of every sale to cover hosting and bandwidth. Premium plans offer smaller to no cuts and more features.
Thinkific
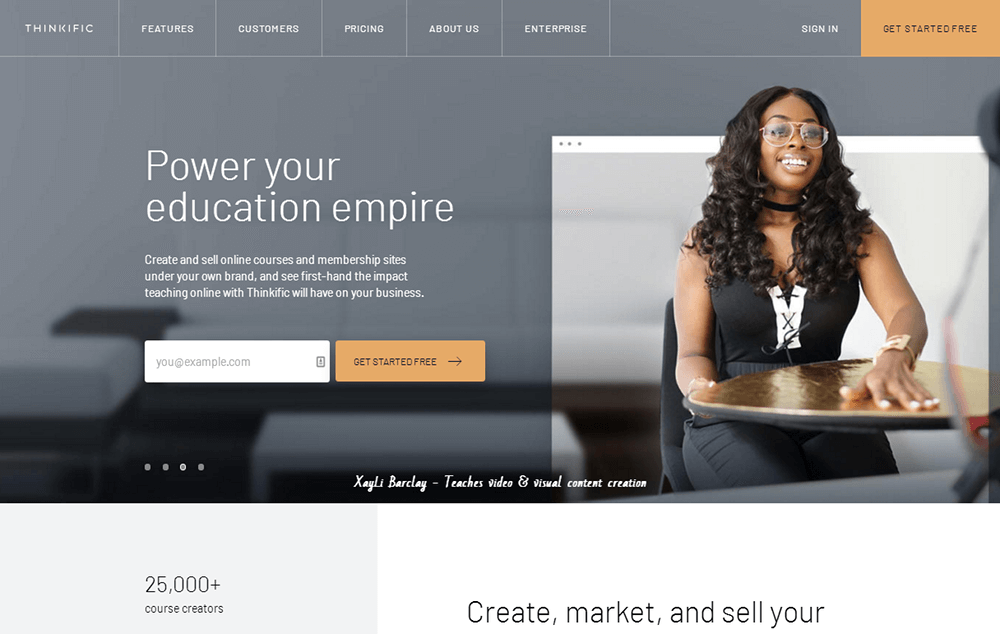
Thinkific is similar to Teachable in that it offers you a way to build and host your course. You’ll simply need to take care of marketing yourself. There are, of course, a few differences between these two platforms. While Teachable offers payouts once a month unless you pay for a second-tier premium account, Thinkific offers instant payouts. Plus, they charge no transaction fees.
LearnPress
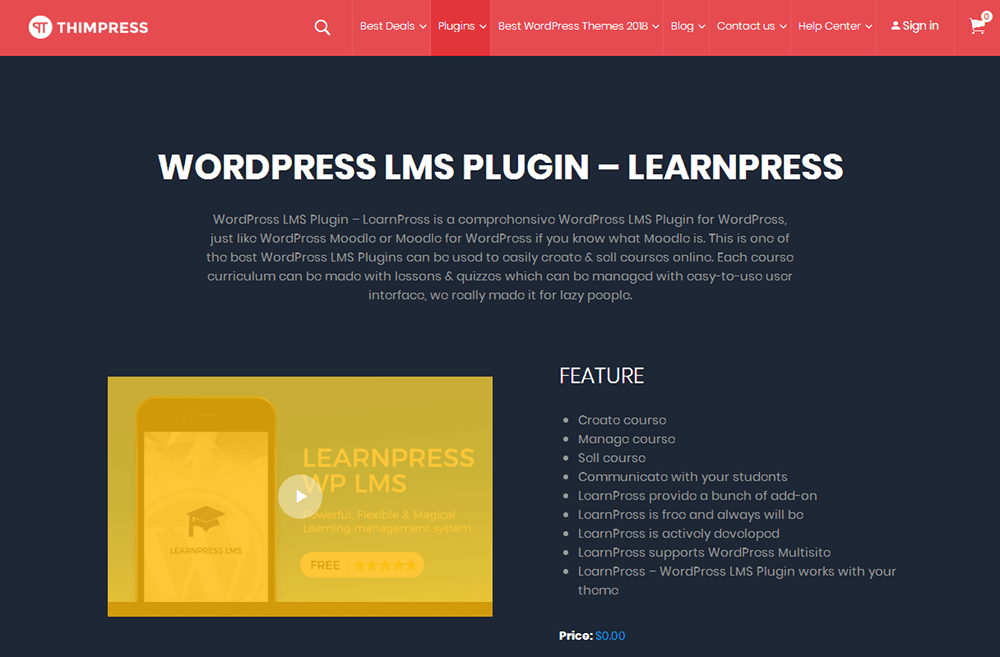
LearnPress is a self-hosted course application. It’s a free WordPress plugin you can integrate directly with your WordPress site. It’ll inherit styles from your current theme, but ThimPress, the developers, also offer premium themes you can purchase that integrate with the plugin even better. Additional features are available as free and premium add-ons.
LearnDash
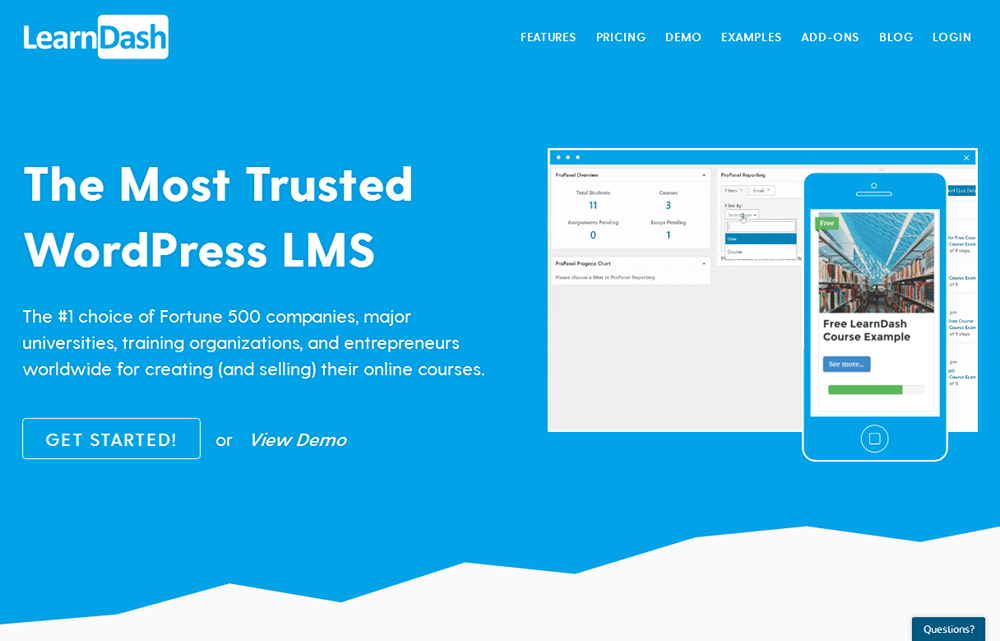
LearnDash is a self-hosted course application. It’s a premium WordPress plugin that costs $199 for one site license. The developers don’t offer themes of their own, but the application works with most WordPress themes. Additional features can be integrated through free and premium add-ons.
Udemy
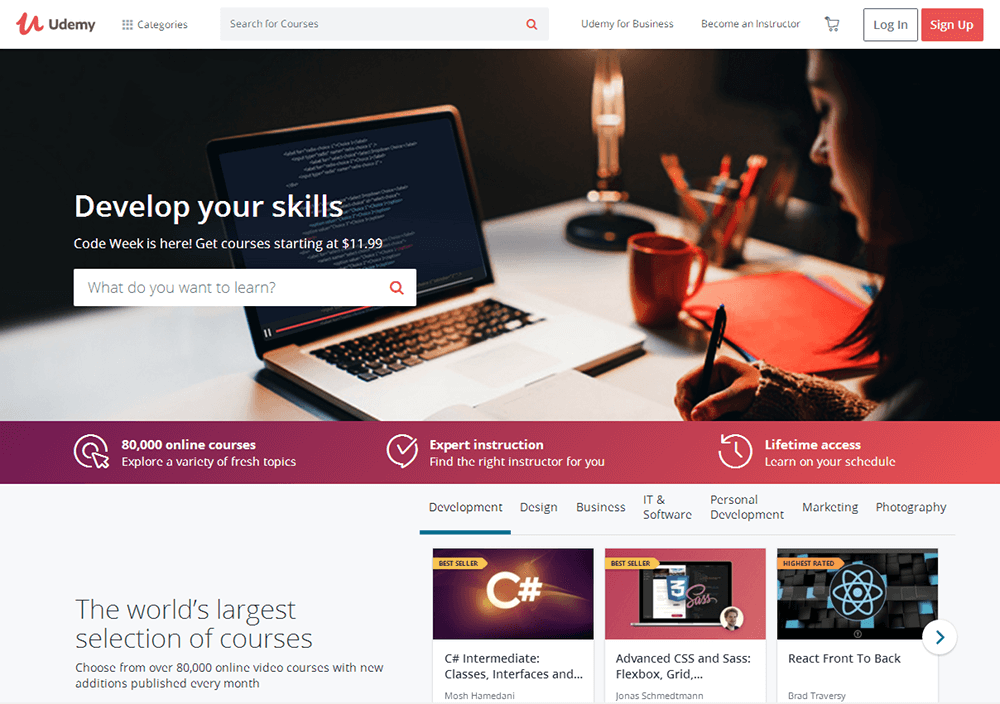
Udemy is one of the largest online course marketplaces on the web. They host your course and take care of everything related to it, including marketing. With this platform, you have access to a community of over 24 million students located all around the world. The drawbacks are Udemy’s strict maximum course prices and the 50% cut they take from organic sales. That’s before transaction fees from credit cards are applied.
Skillshare
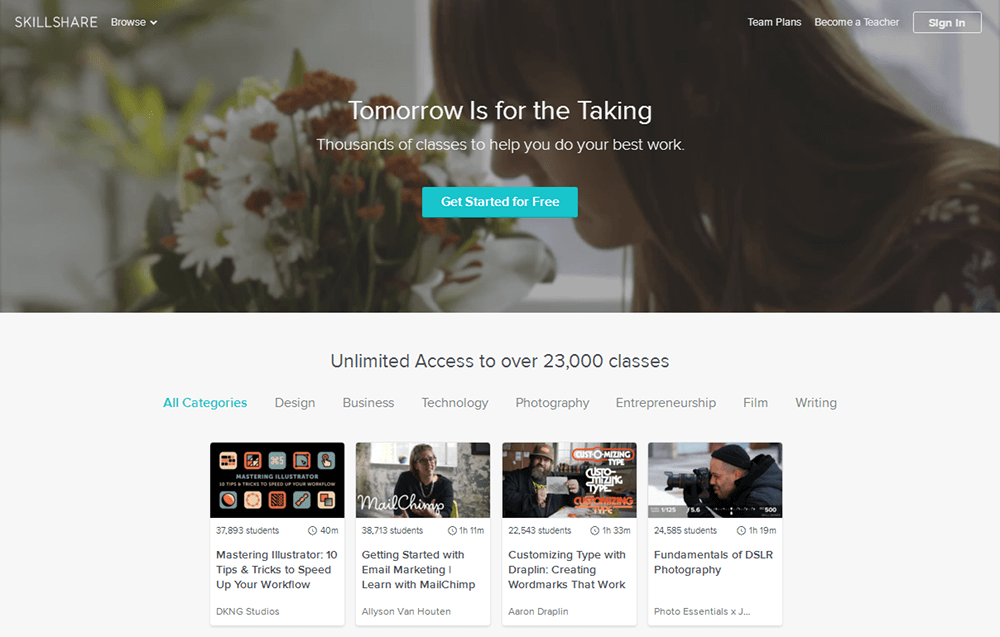
Skillshare is another marketplace that hosts online courses for you, only this one charges subscription fees that unlocks the platform’s entire library of courses for students. You’ll be paid $10 for every new student you bring to the platform and will earn royalties for every minute students spend watching your course(s). While this gives you little freedom in the amount of money you’re able to earn, Skillshare connects you with a network of over 3 million students worldwide.
Planning Your Course Content
Your next step to is to brainstorm and plan out your course content before you start creating it. This will give you a clear direction as to what the course needs to focus on and will help you stay productive in the long run.
Step 1: The Transformation
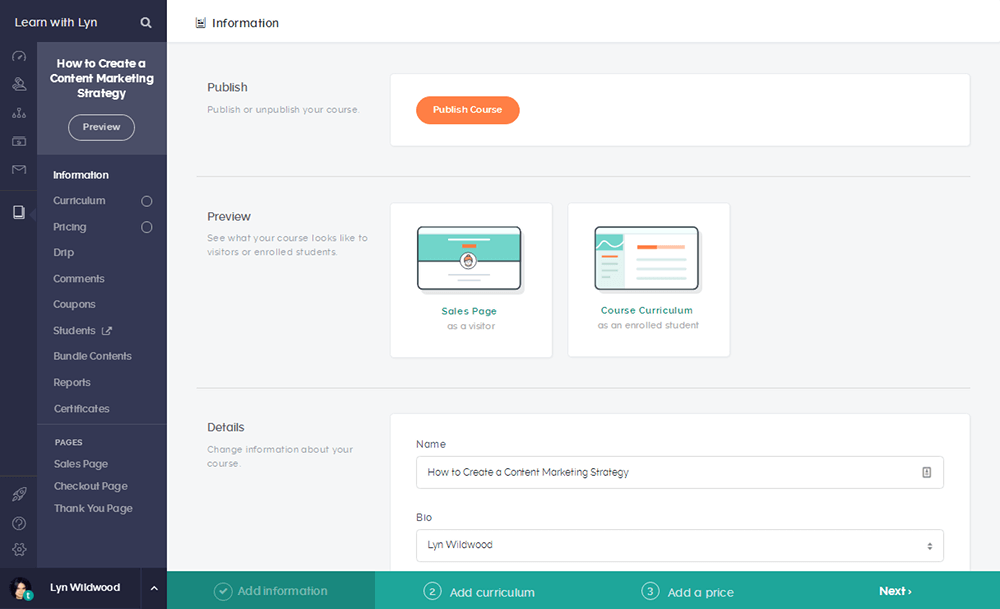
It’s easiest to think of your course as getting your student from Point A to Point B. Start by determining the transformation you want them to go through by the end of the course. Let’s say I’m building a course called “How to Create a Content Marketing Strategy.” Saying “I want my students to have a full content marketing strategy by the end of this course” would be too simple.
Instead, I should get more specific and say, “I want my students to…”
- “…have a full year’s worth of content planned out in an editorial calendar.”
- “…have multiple forms of content planned in their editorial calendars.”
- “…plan their editorial calendars in a way that puts them on track to earn more traffic, email subscribers and revenue.”
Take a look at your course idea, and use your preferred brainstorming technique to jot down the exact transformation you want your students to have.
Step 2: The Journey
Once you know the transformation you want your students to have, you need to figure out how to get them there. Start with a simple “brain dump.” If you were to do what you’re teaching your students to do, make a list of every little step you’d need to take to get there. Don’t worry about making things perfect or organizing your steps into categories. We’ll do that in the next step. Just make a complete list of steps that gets your student from Point A to Point B where Point A is their starting point and Point B is their transformation.
Step 3: Milestones
Next, consider the milestones your students will reach throughout the course. Since I want my students to have a full year’s editorial calendar planned out with multiple forms of content aimed at earning them traffic, subscribers and revenue, my milestones would look a little something like this:
- Determine business goals.
- Determine business’ budget.
- Determine niche audience’s biggest pain points.
- Create a list of content of to solve pain points.
- Organize that content into an editorial calendar.
You’re not listing each part of the journey step by step here. Simply determine the biggest milestones your students will reach throughout the course.
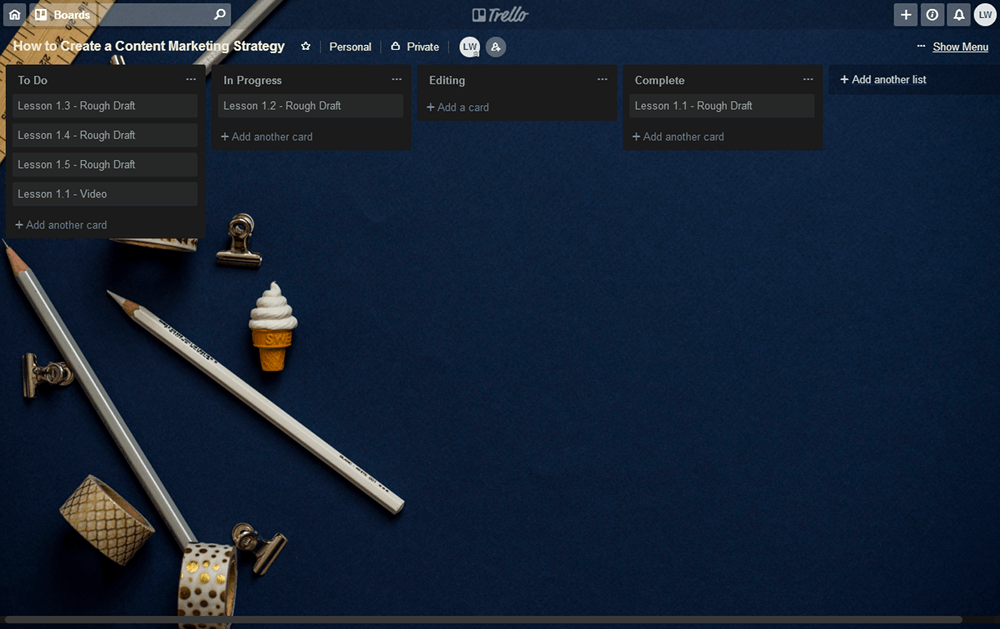
Step 4: Breaking Down Your Milestones Into Steps
This is where you’ll organize everything so you can get started with creating content for your course. All you need to do is organize the steps you listed in step two into the milestones you listed in step three. Once you do that, you can organize the content on your preferred project management app, such as Trello or Asana, to help you keep track of your progress.
Along with helping you outline your course content, this step will help you determine whether or not you’re going overboard with that content. If your course seems far too long after you complete this step, determine if you can shorten it in anyway. Alternatively, determine if you have two course ideas on your hands rather than one.
Creating Your Course Content

Once you have everything planned out, you can actually start creating an online course. First, determine the content you’d like to use. Check with the platform you’re using first. While platforms like Teachable and Thinkific allow you to build everything from video to text-based courses, Udemy and Skillshare exclusively sell video courses.
Video courses are most effective and will earn you the most amount of revenue. However, if you don’t have the budget or confidence to produce video content, you may want to create a text-based course. Speaking of budget, keep in mind you don’t necessarily need video recordings of yourself or ones shot inside your office. You can do screencasts or slideshows and provide voice overs for them instead.
For screencasts, you can find drawing tablets, such as the ones made by Wacom, for under $100 USD that will allow you to add a digital whiteboard to your course. The most important aspect of video content is audio quality, so make sure you have a quality microphone and recording environment above all.
Other Types of Content
Depending on the course software you use, there are additional types of content you can add to your course, such as quizzes, worksheets and PDF documents. Quizzes can be useful for technical topics where students may want to verify whether or not they understood a particular lesson before moving on. Worksheets can be used for this purpose as well, but they can also be used to help students work out something on their own. In my example course, I could use worksheets to help students determine their business goals and budgets.
You can use PDF documents for a number of different things, including cheat sheets and lesson notes.
Final Thoughts
Creating an online course is no easy feat, but once you know what features different types of platforms offer and take the time to plan everything out, the creation process is a lot more simple. If you’re self-hosting, you’ll need to determine a price once you’re done and consider whether or not you want to charge students a single price or a subscription. You’ll also need to develop a special marketing strategy for it.
If you’re still not sure if you’re ready to start creating online courses, check out our post on making money blogging. It features additional methods you can use to earn money through your blog.