Create Theme Documentation
Blog
Creating Your Blog Page
To create your blog page, navigate to Pages->Add New. Give your page a title, and select one of the four blog page templates from the Page Attributes box on the right.
- Blog – A standard blog layout with sidebar on the right.
- Blog Full Width – A standard blog layout where the posts span full width of the content area and there is no sidebar.
- Blog Masonry – A three column masonry layout with sidebar on the right.
- Blog Masonry Full Width – A four column masonry layout spanning the full width of the content area with no sidebar.
Post Meta
The post meta is the info that appears under the post titles, such as date, author, etc.

To control what bits of info are show here, navigate to Appearance->Customize->Blog->Post Meta.
Create Blog Widget
The Create theme comes with a Blog widget that allows you to display a grid or carousel of posts anywhere on a page using Page Builder. On the page in which you are adding the blog widget click the Page Builder tab at the top right of the editor.

From the Page Builder tool bar, click the Add Widget button to add a widget. From the available widgets select the Create Blog widget. Once the widget has been added to your page, hover over it and click on the edit link in the upper right corner.

On the Create Blog widget settings screen, there are a number of options that allow you to configure your blog display and give it a style of your own. Once you are finished configuring the widget, click the Done button and then Save/Update the page.
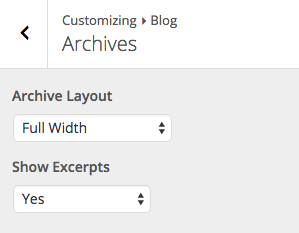
Archives
Since the page template that you selected for your blog page will only affect your main blog page, we’ve given you options to configure your Archives pages. This includes pages like category and tag archives. To do so, navigate to Appearance->Customizes->Blog->Archives.

