Building WordPress sites can sure be fun, but only if you get to do so in a stress-free environment that allows you to experiment freely. Hence, the need to install WordPress locally.
Basically, working on a live site and on a live domain (available publicly) isn’t the best of ideas. And especially if that work involves anything development-related. Here’s why:
- The obvious consequence of working on a live site is that whatever you do is immediately visible to your visitors. In some cases, the sole fact of a visitor trying to navigate to a site mid-development can break things and cause uncommon site or server errors.
- Developing on a live site = developing in a live hosting environment. If it’s rented hosting that you’re dealing with (like from any web hosting company such as Bluehost or SiteGround) then causing more serious server errors – which can happen during development – can lead to an eventual ban from the platform.
- It’s simply more time consuming. In most cases, you’re going to need to copy new site files manually onto the server. This means dealing with FTP or other mechanisms, which takes time.
- In case of any serious trouble, reverting the changes can be tough, and especially if your database data has been corrupted as well.
The best way to avoid all these downsides is to install WordPress locally. This brings a number of benefits:
- When you install WordPress locally, you don’t need to upload your files anywhere. It all happens on your computer.
- If errors occur, you can easily restart the server and the database, and start over.
- You can see the results of your work immediately.
- You can build and tweak the site however you wish in a safe environment.
- All changes are invisible to the outside world.
- You can double- and triple-check that everything works fine before rolling it out to the live site.
How to install WordPress locally
The easiest way to install WordPress locally – and also the cheapest one (read: free) – is to use XAMPP – available for Windows and Mac.
In short, XAMPP gives you the whole package needed to work with WordPress locally:
- a working web server (Apache),
- a working database system (MySQL),
- a working PHP processor – meaning that it will run WordPress with no problems.
The installation process is simple:
1) Get XAMPP
Go to the download page and get the package for your system:

The download package is quite large – above 100MB – so you’ll need to wait a while for it to get to your desktop.
After that, it’s pretty much smooth sailing.
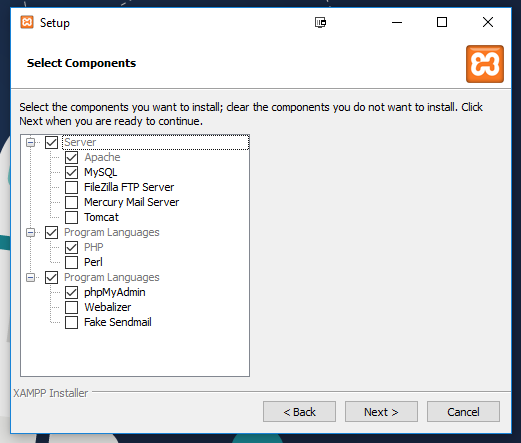
2) Install XAMPP
Just fire up the installer and go through the steps. First, select what you want to install specifically. Here’s the minimal setup needed:
Going with the default directory is usually the best idea:
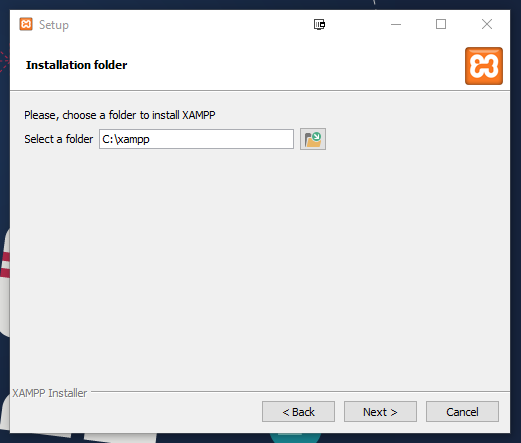
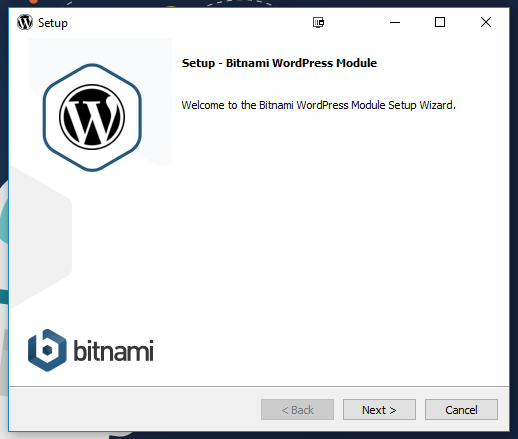
In the next step, you will also learn about the possibility to install WordPress easily through Bitnami’s own “script stacks.” We’ll take advantage of that in a minute. For now, just begin the installation by clicking on “Next.”
Note. During the installation, you might get asked to allow the components of the server to bypass the system firewall. This is a required step to make the server work.
After the installation is done, you’ll have a functioning web server on your computer.
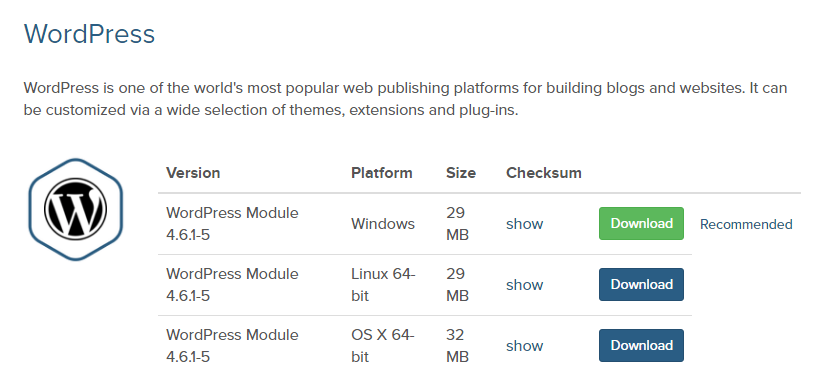
3) *Actually* install WordPress locally
Go to this page, and download the current recommended WordPress installer:
Once you have it, just double-click it like any other installer package.
Select the location of the XAMPP installation and click “Next.”
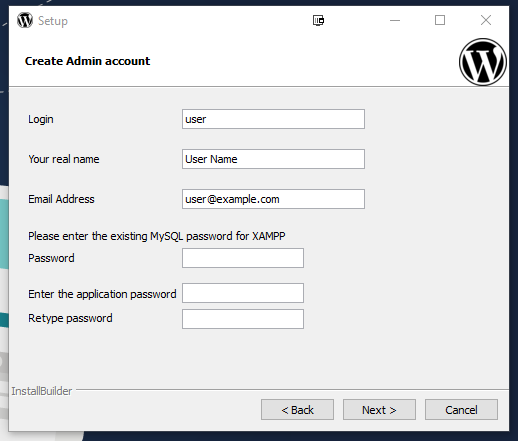
The installer will ask you about your WordPress setup parameters:
- Username, real name, email – basic stuff.
- You can leave the database password blank.
- “Application password” is your WordPress dashboard password.
In the last step, you can uncheck the option to install WordPress in the cloud:
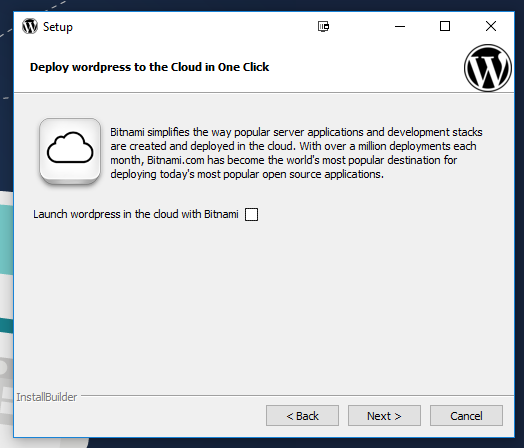
After that you can sit back, relax and let the wizard install WordPress locally for you.
When the installation is done, you can pretty much already see your site if you point your browser to: http://localhost/wordpress
Also, you can log in normally by going to http://localhost/wordpress/wp-admin
If you want to work with your site files manually, you can find them in:
![]()
At this point, you can start working on your site locally, and then export it to the live setup once you’re done. Here’s how:
4) Export to the live setup
You can use the All-in-One WP Migration plugin for that.
Once you activate it, go to your Dashboard >> All-in-One WP Migration >> Export:

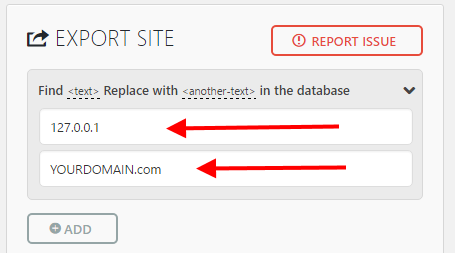
There, you can do one neat thing prior to exporting the site – search and replace specific texts in the database.
For example, find all instances of your local IP and replace it with your live domain. Like so:
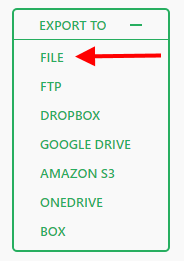
Lastly, just select where you want the site exported. I usually go with “file”:
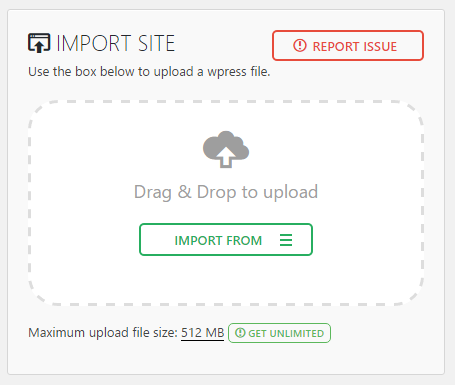
The last step is to take that export file, install the All-in-One WP Migration plugin on your live site, and go to the import section of the plugin there:
And that’s it. You’ve just managed to install WordPress locally, handled your development in a safe environment, and rolled out the changes to the live site.