Be honest … moving WordPress to a new host is something none of us like to do. In most cases, it’s highly stressful, and there’s more than a handful of things that can go wrong. The result if they do? A site that has crashed, and a bunch of data that got lost along the way. Oh joy!
But it doesn’t have to be that way as long as you keep in mind a couple of basic principles. To make the job easier, here’s our guide on how to move WordPress to a new host:
Move WordPress to a new host step #1: Protect your two most important assets!
Those assets are:
- your database,
- your website files.
In nearly 100% of the cases, if you manage to take care of those two, nothing bad can happen to your site when you move WordPress to a new host.
Here’s how you do it:
a) Update WordPress
This is an important thing to do before migrating your WordPress site anywhere.
Start by making sure that your website is running on the most recent version of WordPress, and if it isn’t, update it promptly.
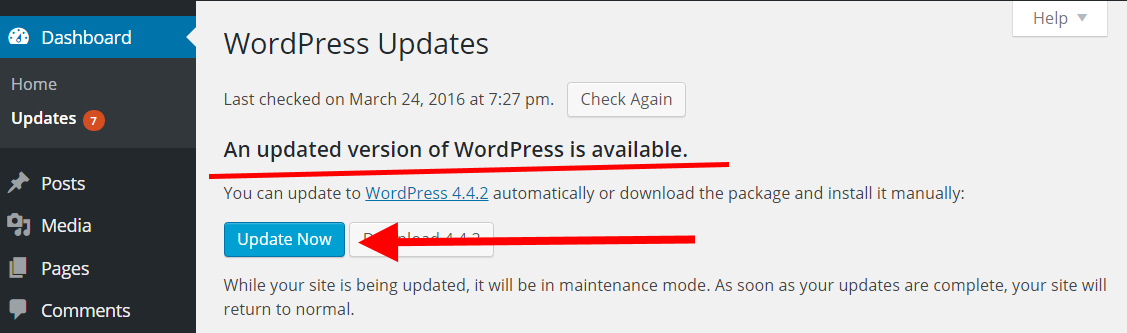
(If you don’t have the latest version running, you can experience compatibility issues at a later stage of the migration process to a new host.)
b) Do a complete backup
There are various ways you could go about backing up your WordPress site, but the simplest one, by far, is to just do it with a plugin.
One of such plugins is UpdraftPlus. It will take care of your database and your website files both at the same time.

Once you install and activate the plugin, go to Settings / UpdraftPlus Backups, and then to the Settings tab:
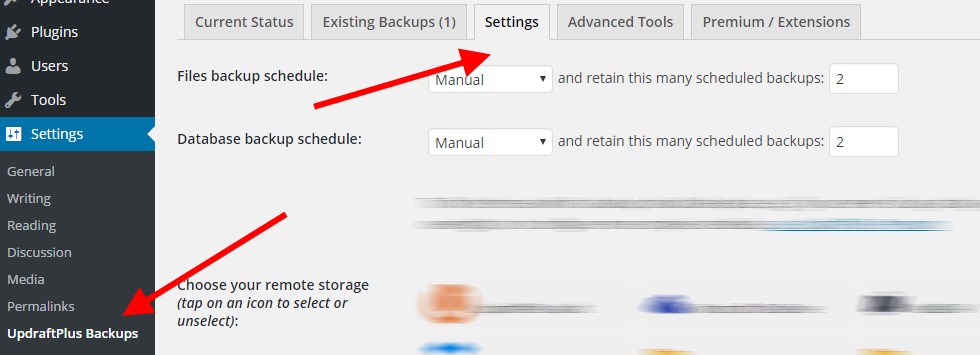
There, make sure to do two things:
- Under “Choose your remote storage,” select the place where you’d like your backups to be uploaded. Probably the easiest choice is to integrate it with Dropbox. In that scenario, when a backup finishes, you will be able to find it in the Dropbox directory on your computer.
- Scroll down to “Include in files backup,” and make sure that every important directory is included in your backup. Like so:

Click “Save Changes” and go back to the Current Status tab. From there, you can hit the big “Backup Now” button.
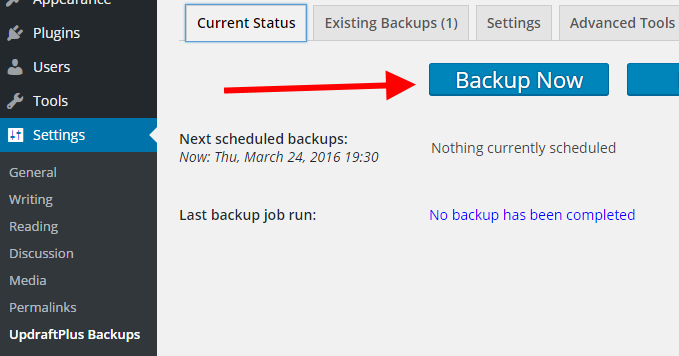
When the backup process finishes, you will be able to find your backup archive in your Dropbox (or some other place you selected).
2. Set up your new hosting account
To continue, you need the following:
- A working hosting setup with your new web host. Everything needs to be ready to go, and the server should be configured to work with your old domain name – assign it to the new server through the server’s settings. Warning; this is not about changing the domain’s settings with your domain registrar yet!
- A blank WordPress site installed on the new host.
- The details of the new server noted down. This including things like the IP address of the new server and the FTP connection details.
Although this might sound weird at first, we’re actually installing a blank version of WordPress for two reasons:
- It validates that the new host is ready to work with WordPress.
- We’re going to use that blank site to then turn it into our main site.
3. Edit your local “hosts” file
The hosts file on your computer is responsible for mapping domain names to specific IP addresses.
The thing we’re going to do here is set that file in a way that instructs your computer to go to the new server in order to access your WordPress site, while the rest of the world still sees the site on the old server. This will allow you to carry on with the process of moving your WordPress to a new host, while your visitors remain undisturbed.
In Windows, the hosts file can be found at:
C:\Windows\System32\drivers\etc
Just open it using Notepad, and add this line at the end:
YOUR_NEW_IP yourdomain.comWhere YOUR_NEW_IP is the IP address of the new server.
4. Duplicate your old site
For that, go to your new blank WordPress site, and install/activate the UpdraftPlus plugin again.
Next, connect to your website via FTP – use the connection details that you noted down in the previous step. (If you don’t have an FTP client, use FileZilla. It’s free and does the job well.)
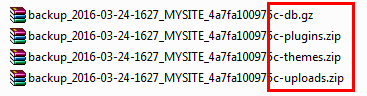
Go to wp-content/updraft from the root directory of your website. Upload all your backup files there (the ones you created with UpdraftPlus). You should have four of those: for your plugins, themes, uploads, and database.
Next, back in the wp-admin of the new site, go to Settings / UpdraftPlus Backups, and then to the Existing Backups tab. There, you should see your backup listed. Like so:
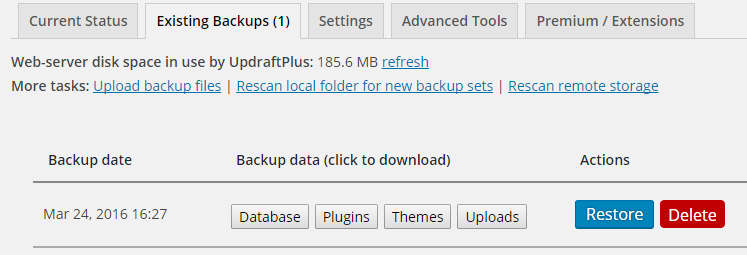
Just click the “Restore” button. UpdraftPlus will ask you which elements you want restored, select them all:
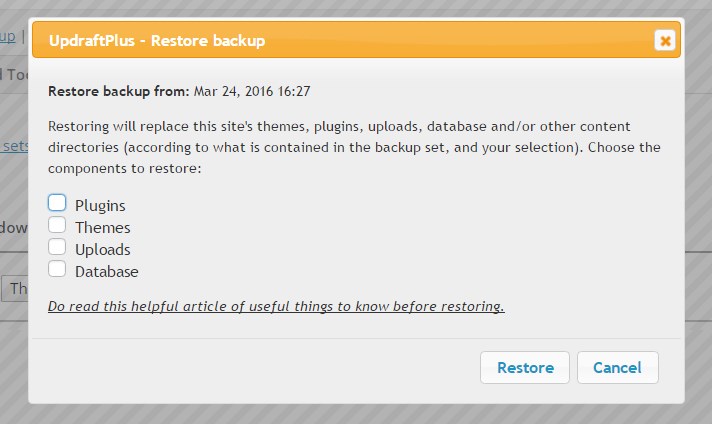
After a while, all your plugins, themes, uploads, and the whole database of your main/old site will be restored onto the new one.
At this stage, you have a direct copy of your website on the new host.
5. Switch the nameservers of your domain
The last thing to do in order to move WordPress to a new host is redirect your domain name to your new server.
To handle that, either go to your domain registrar’s admin panel and find this setting yourself, or contact the support team and ask them to change the nameservers for you.
The new nameservers settings should point to your new web host. You might have to ask the host what the addresses of their nameservers are. For instance, Bluehost uses: ns1.bluehost.com and ns2.bluehost.com.
Keep in mind that those settings can take anything from a couple of hours to even 48 hours to propagate. What this means is that it will take up to 48 hours for the web to notice that your WordPress has changed hosts.
Done!
Moving WordPress to a new host perhaps isn’t a hands-off thing to do, but it’s surely achievable with little stress if you only follow the steps closely.