If you’re thinking about getting started with Google Analytics in WordPress then you might feel a little intimidated… After all, Google Analytics is one of the most feature-rich and advanced analytics solutions out there.
But don’t let that scare you off! The great thing about Google Analytics is that you don’t need to go to full depth with it if you don’t want to. Even if you just scratch the surface, you’ll still get a load of features that are very user-friendly at the same time.
Here’s our guide on getting started with Google Analytics in WordPress:
Why does your WordPress site need Google Analytics?
We should probably tackle the elephant in the room first.
Namely, what’s the big idea with Google Analytics anyway, and why do you need it on your WordPress site?
The short answer is that you don’t. But you’d leave a lot of cool stuff on the table. Here’s what a free account with Google Analytics gives you:
- Info on the number of people coming to your site.
- Your bounce rate – the number of people who viewed only one page and left.
- Your visitors’ average “time spent on site.”
- How many new visitors vs. returning visitors you get.
- Where your visitors usually come from – your top referring sites.
- Your most popular content (this is huge!). And much much more.
In a sentence, Google Analytics lets you know how popular your WordPress website actually is, plus what you can do to make it more popular.
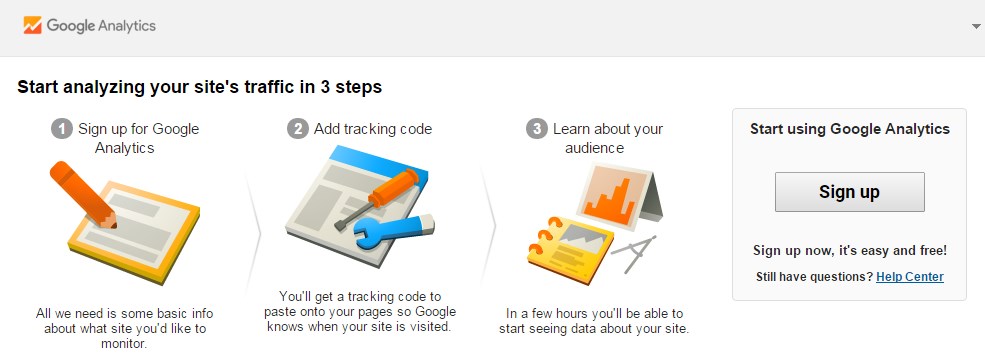
Step #1: Signing up to Google Analytics
Before you can do anything with Google Analytics in relation to your WordPress site, you need to create a new user account and a profile for your website with Google Analytics.
Like with most tools by Google, you need a standard Google Account to get started (if you’re on Gmail then you already have this part taken care of).
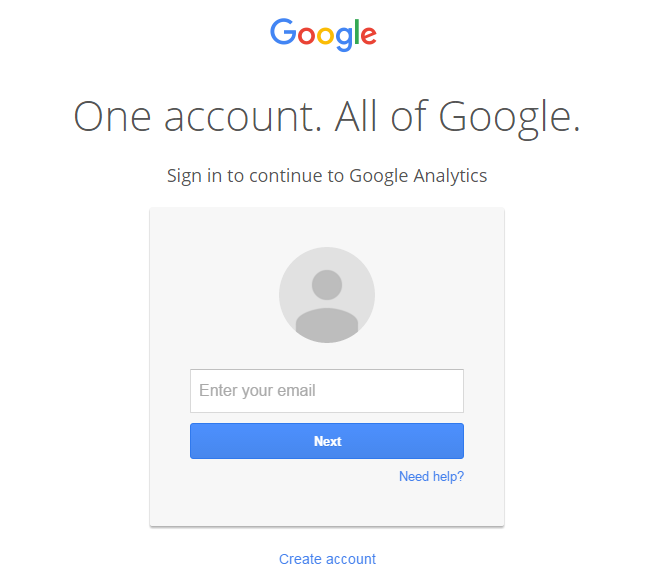
The easiest way to begin is to visit analytics.google.com.
If you already have a Google Account, you just need to confirm that you want to use it with Google Analytics:

If not, you can create one easily:
After you’re done with that, Google Analytics is going to ask you to configure your new account.
At this stage, you can choose between tracking a website or a mobile app. In our case, let’s go for the website:
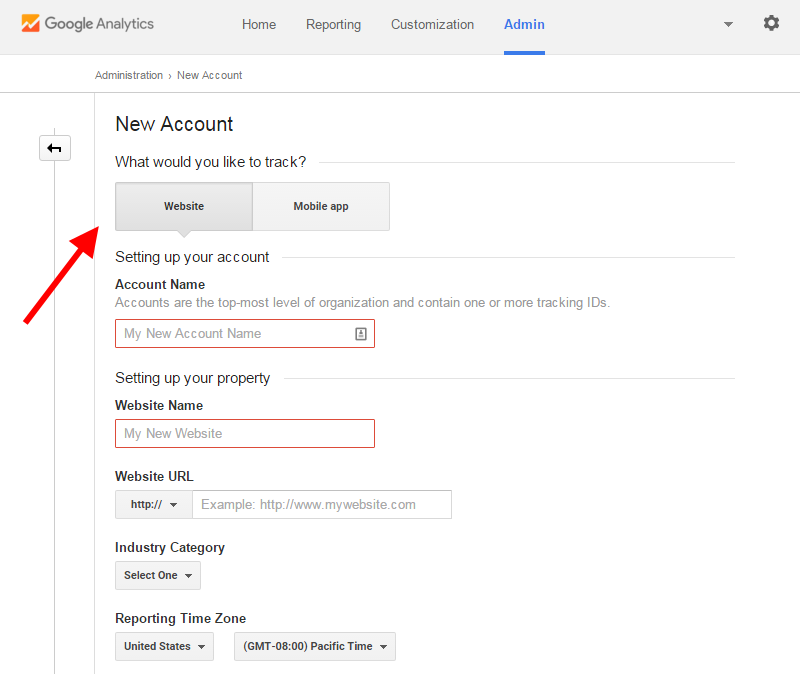
The things you need to fill out here:
- Account Name. Pick a friendly name in order to categorize your website in some way. For instance, call it “Personal” if you’re tracking a personal site, or “Business.”
- Website Name. The title of your website.
- Website URL. The main web address of the site.
- Industry Category. Whatever seems to fit best.
- Reporting Time Zone. Your time zone.
You can leave the remaining parameters with their default values. When you’re done, click the “Get Tracking ID” button at the bottom:
![]()
At this moment, Google Analytics will give you the tracking code. It’ll look something like this:
![]()
This piece of code is what ultimately connects your WordPress website to Google Analytics.
Step #2: Enabling Google Analytics in WordPress
There are three main ways in which you can enable Google Analytics in your WordPress site:
- a) The manual way.
- b) Using a plugin that will include the tracking code on your behalf.
- c) Using a dedicated Google Analytics plugin.
Note. Pick just one. Don’t try to do all of them at the same time.
a) The manual way
Approach a) is about editing the source code of your WordPress theme files, and including the tracking code by hand. Too much hassle most of the time, so let’s skip it.
b) Embedding Google Analytics tracking code via a plugin
This is an approach that’s much easier to grasp, as it only requires a minimum amount of work – basically, just copy and paste a piece of code.
First, get a plugin called AddFunc Head & Footer Code.

After installing and activating it, go to Settings / Head & Footer Code in your wp-admin. There, copy and paste your Google Analytics tracking code into the “Site-wide Footer Code” field:
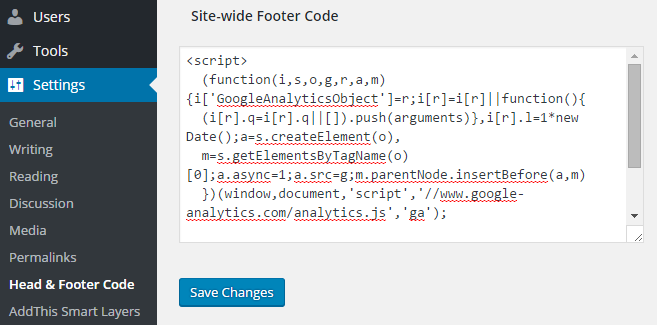
Once you click “Save Changes,” your WordPress site is fully integrated with Google Analytics.
Alternatively:
c) Using a dedicated Google Analytics plugin
Using a dedicated Google Analytics plugin for WordPress has its pros and cons. The pros include a much better integration of your WordPress site with Google Analytics (you get a setup that’s optimized for the way WordPress operates). But the main downside is slightly more complicated setup.
To start here, get a plugin called Google Analytics by Yoast.

After having it installed and activated, go to Analytics / Settings from your wp-admin, and click the button labeled “Authenticate with your Google account”:
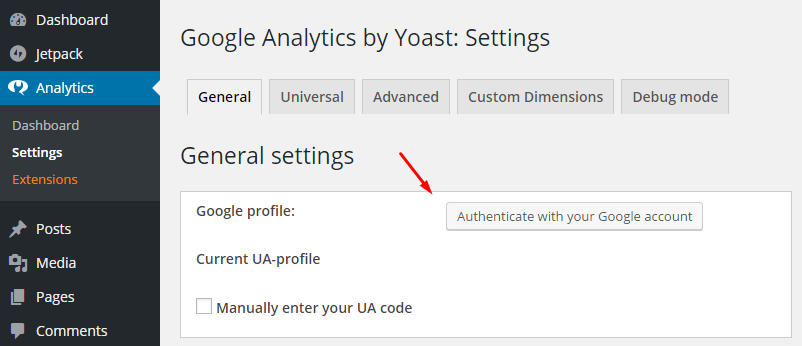
You’ll see a pop-up window where you can find your unique authentication code.
In the next and final step, select the “Analytics profile” for your site, and click the “Save changes” button:
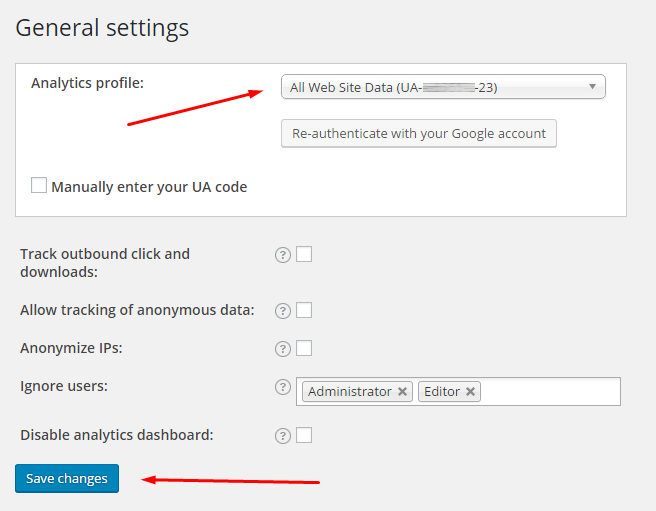
Right now, your WordPress site is fully integrated with Google Analytics.
To fine-tune your setup, you can go through the other settings tabs available with this plugin, but that’s an optional step:

Done!
Okay, whether you’ve gone with b) or c), your WordPress website is now 100% hooked up to Google Analytics.
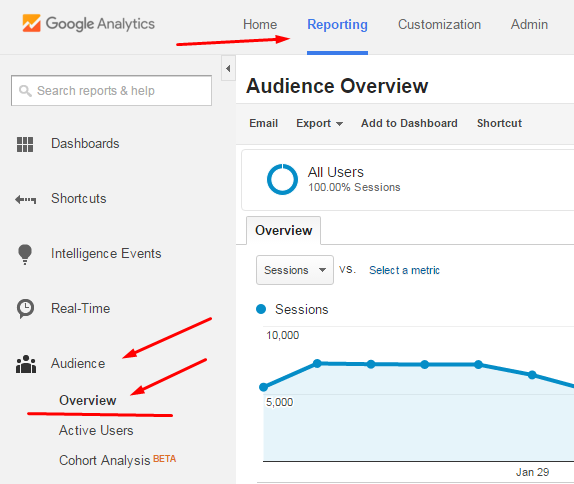
All that’s left to do now is go to the Audience > Overview screen in the Reporting section of Google Analytics, and start looking through your visitors’ data: