Getting Started with Mellow
Do you need help installing or updating Mellow?
If you’d like to start with some example content, here’s the content from the demo. Download and unzip the file. Then use the Tools → Import tool in your WordPress admin. Need step by step directions?
You can upload your own logo image by opening up the Customizer under Appearance → Customize. Then click the Site Title & Tagline tab. There you will find the “Logo” image upload field.
In your WordPress admin, click on “Menus”, which is located under the “Appearance” tab on the left. Start by creating a new menu in the panel on the right. Once the new menu is created you can add pages, categories, and custom links from the panels on the left. You can then re-order and create submenus by dragging the menu items. Under Theme Locations, select Slide-Out Menu.
When you’re finished, click the checkbox click the “Save Menu” button.

Mellow comes with a minimal homepage template that is designed to highlight your portfolio. To set up the homepage, first create a new page and name it something like “Home”. As you’re creating this page, select the “Home” page template in the Page Attributes box found in the right column. After you publish your page, go to Settings → Reading. For “Front page displays”, choose a static page and select your newly created “Home” page, then save your settings.
The content of the homepage template is broken into sections. Below is an explanation of how you can customize each section.
Main Content: This section will display the contents of the “Home” page you created in the previous step. You may put whatever text or HTML you would like in here.
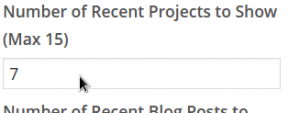
Recent Projects: Here you can show off your recent portfolio projects. You can choose to display any number of recent projects by changing the Number of Recent Projects… setting in the Customizer.
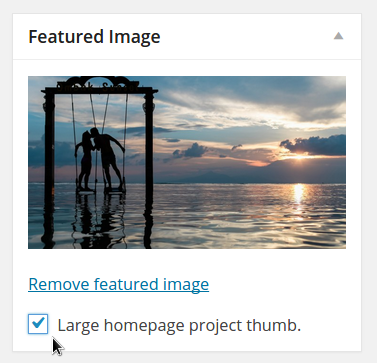
Large thumbs offer a great way to feature your content. To make a large thumb, open the project you would like to feature, and find and tick the checkbox labeled Large homepage project thumb in the Featured Image box in the Editor.
Recent Posts Slider: This section highlights your latest blog posts. To change the number of posts this slider shows, go to Customize → Mellow Homepage → Number of Recent Blog Posts to Show.
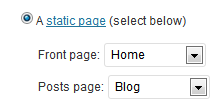 If you’ve followed the steps above to set up your home page, you’ll probably want to display your posts on a different page. You can easily do this by creating a new page and giving it a name like “Blog”, “News”, or whatever you’d like to call it. After you publish your page, go to Settings → Reading. For “Front page displays”, choose your newly created “Blog” page for Posts page. Save your settings.
Then in your theme options under the Blog tab, choose your blog page, and save.
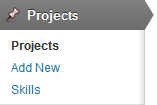 This theme uses a custom post type called “Projects” to help you manage your portfolio. To set up your portfolio page, create a new page and select the “Portfolio” page template. To add a new portfolio piece, select “Add New” under “Projects” in the left hand menu. Use the main text editor on the Project edit page to insert the main images or video for your project. Ideal image width is 900px, but if your images are larger they will be sized with the fluid layout.
Skills
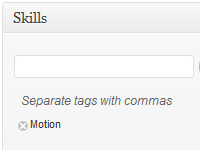 When creating a project, it’s important to assign it to a skill. Skills are categories for your projects and they are used to form the project filter navigation. You can find the “Skills” box in the right column.
Thumbnail Image
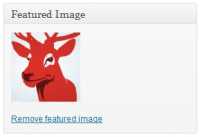 To create the thumbnail for your project, use the “Featured Image” box found at the bottom of the right column. Use the popup window to upload an image, and then click “Use as featured image”. The image that you upload should be large since it will also be used as the background for the header on the single project page. The recommended image width is:
 1440px. These are not exact image size requirements, so feel free to experiment with different dimensions.
You can easily create social links by adding a couple of special classes to an HTML a tag. Here’s an example of a Twitter link:
<a href="your-url-goes-here" class="fa fa-twitter"></a>
Create multiple links like this:
<a href="your-url-goes-here" class="fa fa-twitter"></a>
<a href="your-url-goes-here" class="fa fa-dribbble"></a>
<a href="your-url-goes-here" class="fa fa-instagram"></a>
An ideal place to add social links is in a text widget or in the Right Footer Area, which can be edited under Appearance → Customize → Footer.
Adding buttons to your content is easy. First, add a link. Then switch over to the Text tab so you can edit the HTML. To turn your link into a button, simply add the button class like this:
<a href="your-url-goes-here" class="button">This is a Button</a>
Translating Your Theme with WPML
Basic Setup
Mellow is WPML-compatible, meaning that all text in this theme can be translated to the language of your choice. To begin, be sure you have the WPML Plugin installed and activated, along with the WPML String Translation plugin.
To set up WPML the first time, follow their Getting Started Guide.To begin translating, select WPML (in the Dashboard menu) -> String Translation. You should see a list of the strings in the theme (there should be only four), with blue translation links to the right. Click these links to reveal the list of languages you use on your blog and the associated translations.
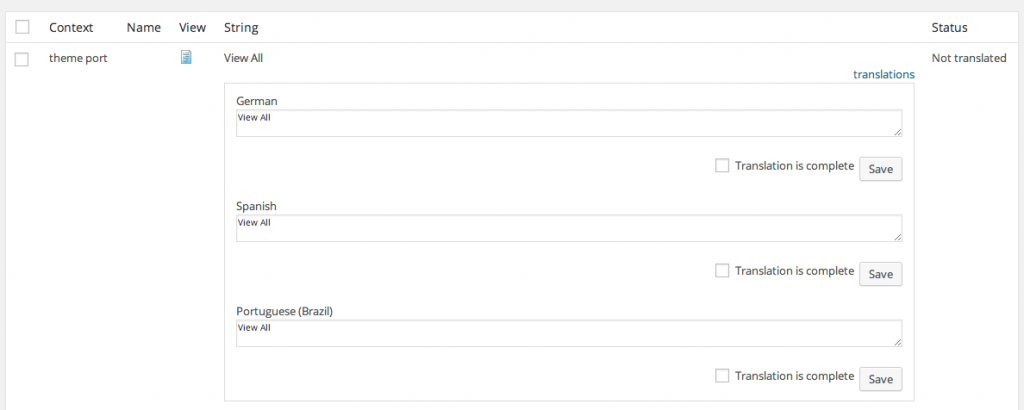
Translating Projects, Skills and Testimonials
To translate the custom post types and taxonomies (projects, skills, and testimonials), go to WPML -> Translation Management. After, select Multilingual Content Management from the tabs.
Next, locate the section called Custom Posts (about halfway down). Here you can choose the translations for projects and testimonials (and their slugs). Below this section, you can see Custom Taxonomies, where you can translate the skills taxonomy.


