
So, you’ve heard that you need a mailing list for your website, and you’ve also heard that MailChimp is a great option, but that’s pretty much all you know? You’ve come to the right place.
In this post, we’re going to demystify mailing lists– what it is, why you need one, and how to build one easily with MailChimp. Let’s get started.
Why do you need to build a mailing list?
One of the very first things you should do after installing WordPress is to set up a mailing list. Sure, you won’t have many (or any) visitors at first, but once folks start trickling in, how do you keep them on the hook?
With a mailing list, of course. First, you offer something that they want (i.e. a promo code, a free ebook, a video series, etc) in exchange for their email address. Now, whenever you update your blog, have a new product release, or want to share details about an upcoming event, you can send it to your email list– people who were interested enough in your website to sign up for future news from you.
You cannot rely on bookmarks or, worse, your visitor’s memory to bring them back on a consistent basis. People forget or get distracted, but they won’t miss your emails in their inbox.
What is MailChimp?
MailChimp is an email marketing service that allows you to collect email addresses and then send out newsletters to the people on your list. It’s one of the most popular services of its type and it’s free (up to 2000 subscribers and 12,000 emails per month).
MailChimp offers a lot of great features. Here’s just a few that stand out to me:
It automatically and intuitively ranks your subscribers based on their activity level. For example, people who always open your emails will get a higher rating than those who rarely or never open your emails.
It allows you to segment your subscribers. Segmenting is just a fancy way of saying that you can create groups. Group your subscribers based on general demographics like location and email open rates.
It offers plenty of beautiful templates. There’s no need to have a boring email newsletter. On MailChimp, you can drag and drop your design or build one from scratch.
Here’s a bonus: It’s easy to use and understand. You don’t have to know quantum mathematics to understand your most important numbers.
Why MailChimp and not another email marketing service?
To be honest, there are many great email marketing services available. However, MailChimp is the easiest one to use for beginners. It’s very user-friendly. Plus, because it’s free up to a 2000 subscribers, you can’t really go wrong with trying it out.
Now, let’s get into the nuts and bolts of how to set up MailChimp with WordPress.
Setting Up MailChimp with WordPress
MailChimp is easy to set up. Let’s walk through the steps.
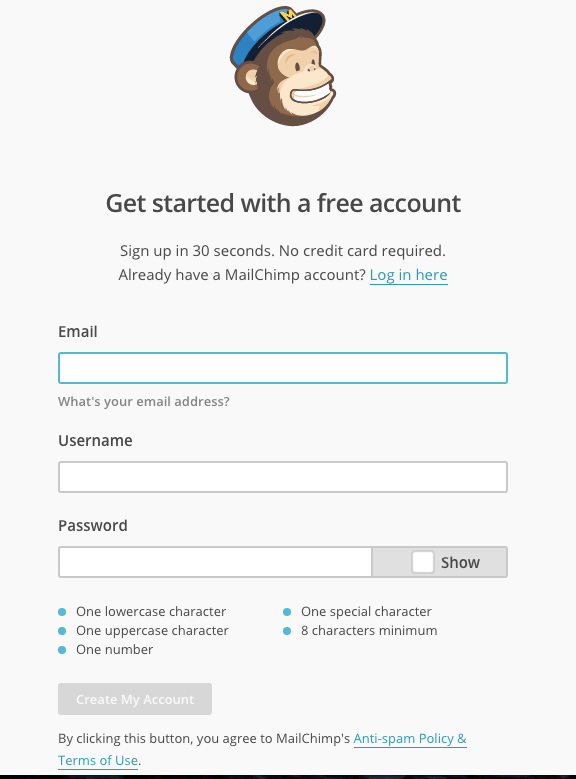
1. Sign up for a MailChimp account.
2. Login to your WordPress dashboard.
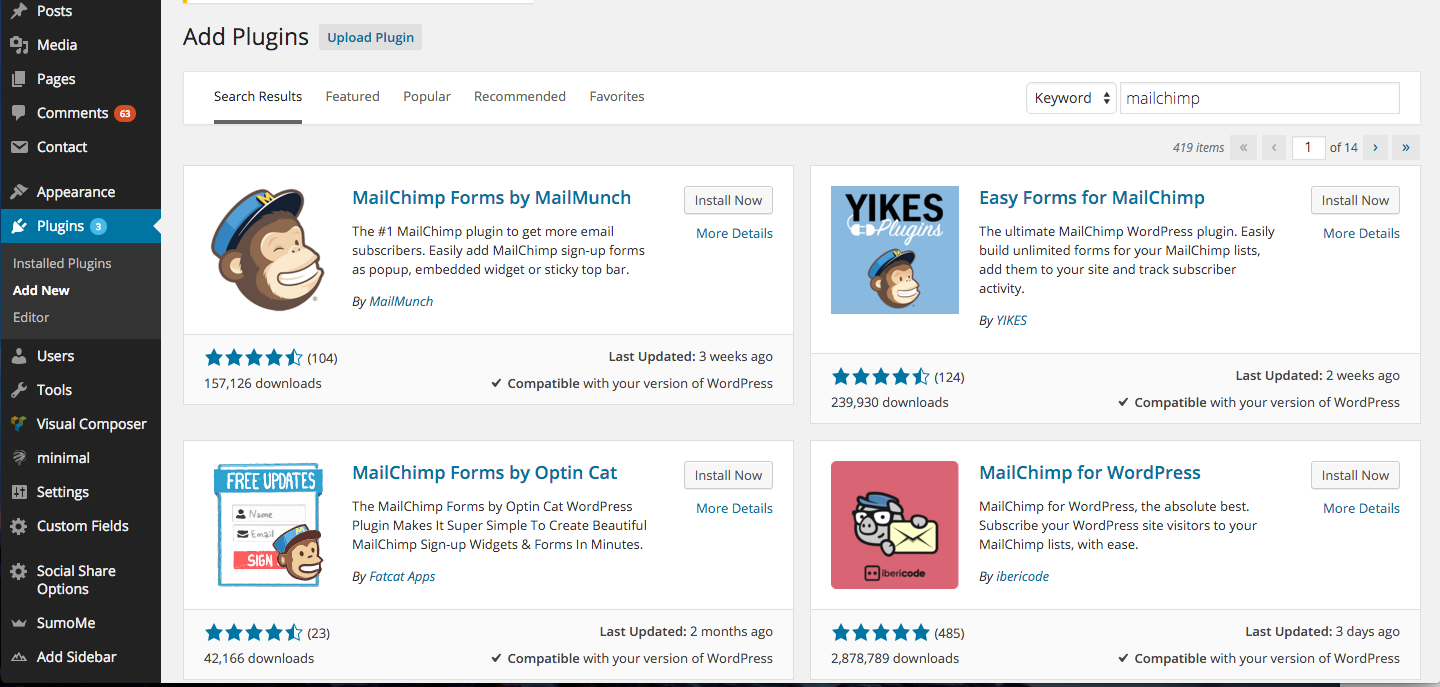
3. Navigate to Plugins > Add New. Search for “MailChimp.”

4. Don’t get overwhelmed. There are hundreds of MailChimp plugins, but we’re going to focus on the most popular plugin with well over two million downloads. It’s known simply as “MailChimp for WordPress.”
5. Click “Install Now.” Be sure to click “Activate Plugin” also.
6. Navigate to Installed Plugins from your dashboard. Locate “MailChimp for WordPress.”
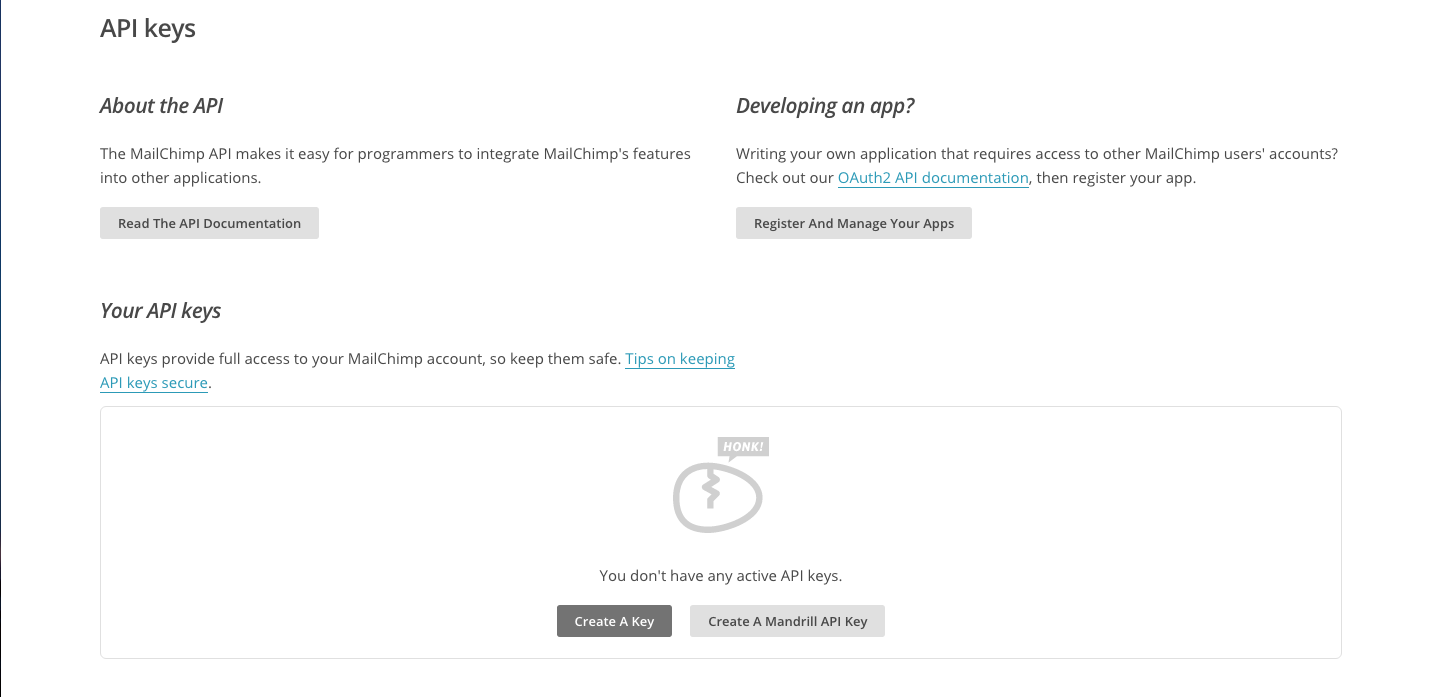
7. Let’s get an API key to connect your MailChimp account to your WordPress site. Click on the “Get your API key here” link.

8. Select the “create a key” option. Copy your newly minted API key. Next, go back to the WordPress dashboard and paste the API key into the appropriate box. Save changes.
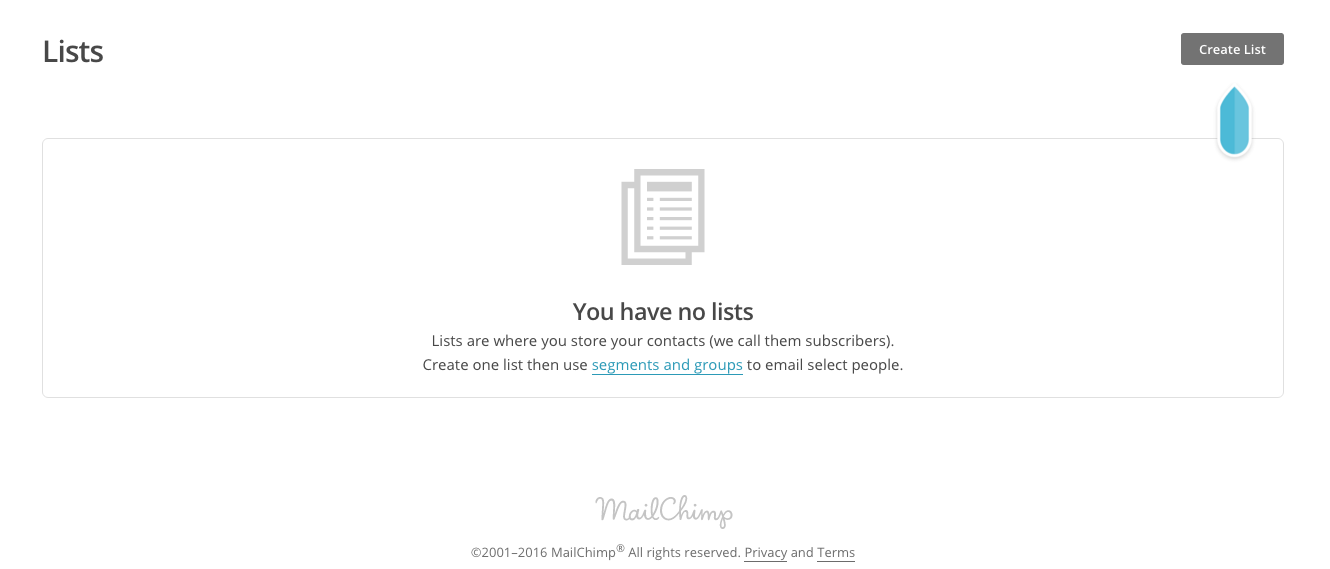
9. Let’s return to MailChimp and set up your lists. Why? You may want to group your mailing list based on where they subscribe. Some people may subscribe after visiting a specific landing page, from reading your blog posts, or during checkout. You may want to tailor your content to slightly based on what information they’re most likely interested in. To do that, you need to create lists.
Navigate to Lists from the menu at the top off your MailChimp page, and then “Create Lists.” Select your desired notifications and save.
10. Now, let’s navigate to MailChimp for WP > MailChimp. Select “Renew MailChimp Lists” to find your newly created list.
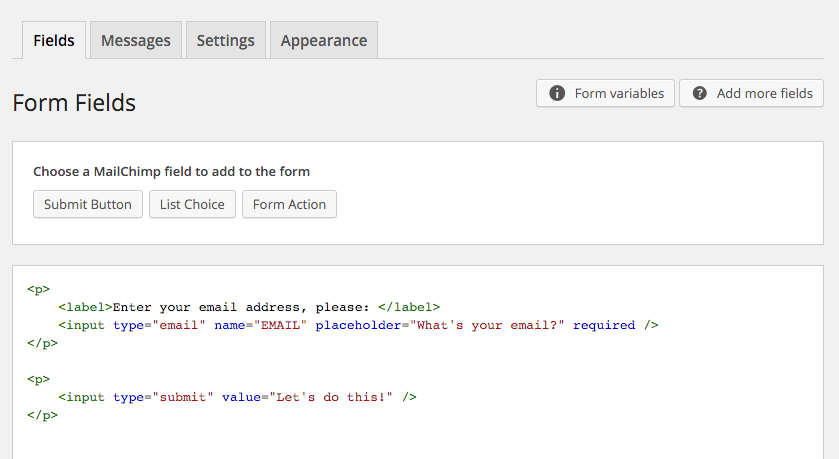
11. It’s time to create a new form. Head to MailChimp for WP > Forms. Create a form named “Test.” Now, let’s configure.

12. Change the label, placeholder, and value fields to suit your personal tastes. Save changes. But we’re not done.
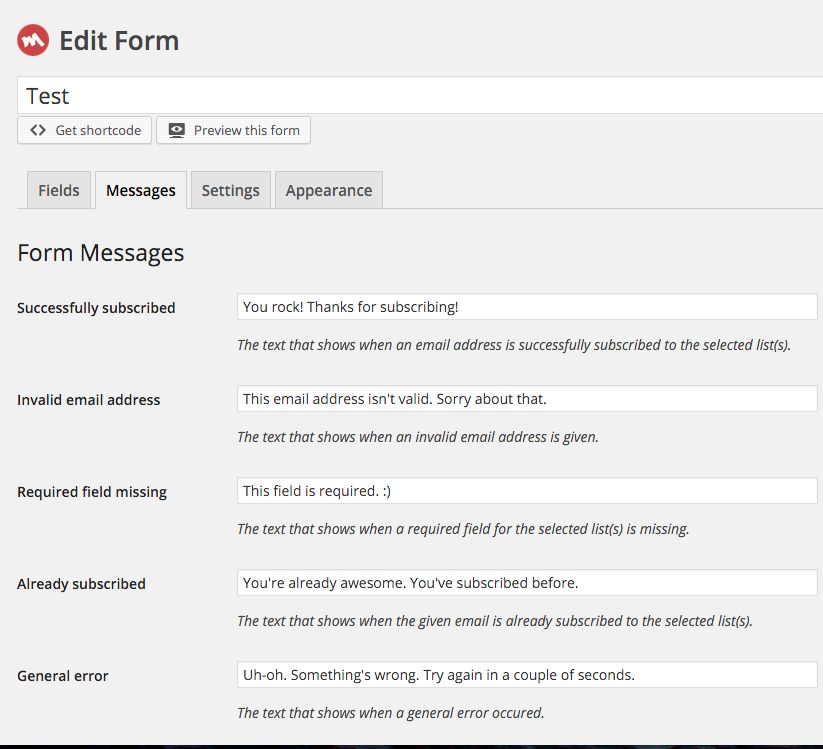
13. Head to the “Messages” tab and personalize the heck out of it. Don’t keep the standard messages but tailor it to sound like the rest of your site. Save changes.
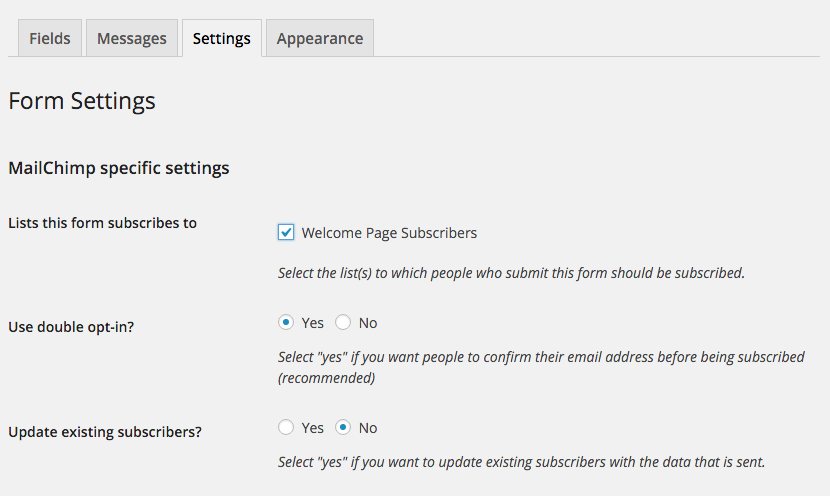
14. On to “Settings.” Here’s where you start to segment your mailing list to match what we did in MailChimp. Choose the list destination for these subscribers. Save changes.
15. Go to the “Appearance” tab. You can choose the “Basic” form style and further configure the color from five different choices (light, dark, red, green, and blue). If you’d like more personalization, you can upgrade to the Styles Builder.
16. Now, click on “Get Shortcode,” located under the form’s title box. Copy the shortcode and then paste it into the area you’d like to add your subscription box.

For example, you can paste the shortcode directly into your pages or posts.
You can also create a blank widget and paste the shortcode there.
17. You’re ready to start collecting email addresses like a pro. Good luck!